
How to make a Peppermint Plate
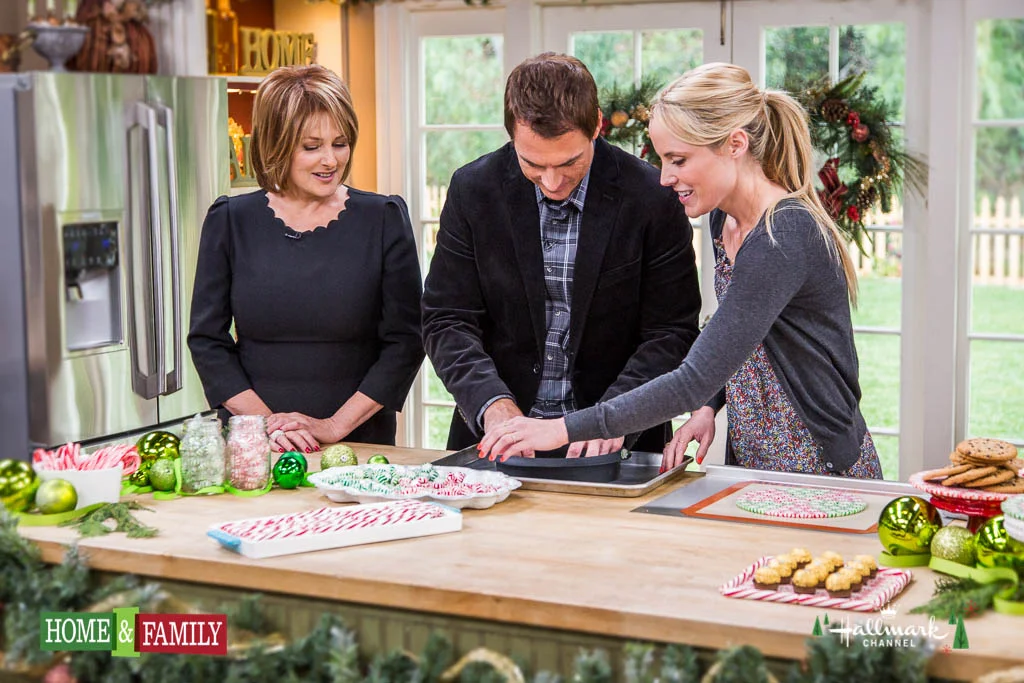
This is probably one of my favorite projects. It's super fun. It's totally gorgeous. And it's really simple girls. My daughter and I have made these peppermint plates two years in a row now. Let me tell you ..... Santa loves getting his cookies on a peppermint plate : ) I made a dozen peppermint plates this week for Home and Family on the Hallmark Channel and I was thinking of using them as dessert plates at the Christmas table. Hey nowwww, we be getting fancy this year ya'll! Dessert on a peppermint plate!? You sayyy what!? Why do I always type with an accent when I write blog posts late at night?
If you missed today's episode of Home and Family on the Hallmark Channel weekdays 10am/9c you can scroll down and see the tutorial below!


Santa's Peppermint Plate
Ingredients
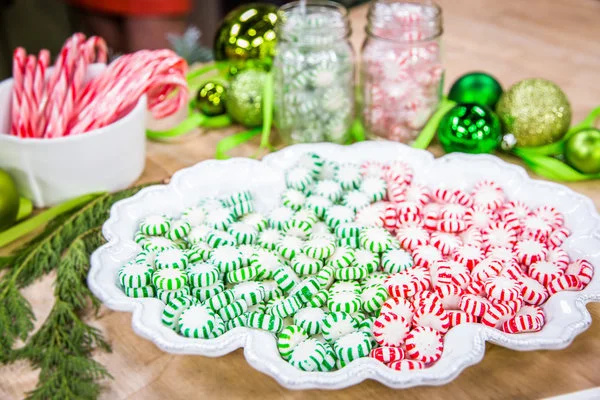
Red and green starlite mints
Silicone baking mold - preferably 9" round
** Note: You could also use a baking sheet with parchment paper
Directions
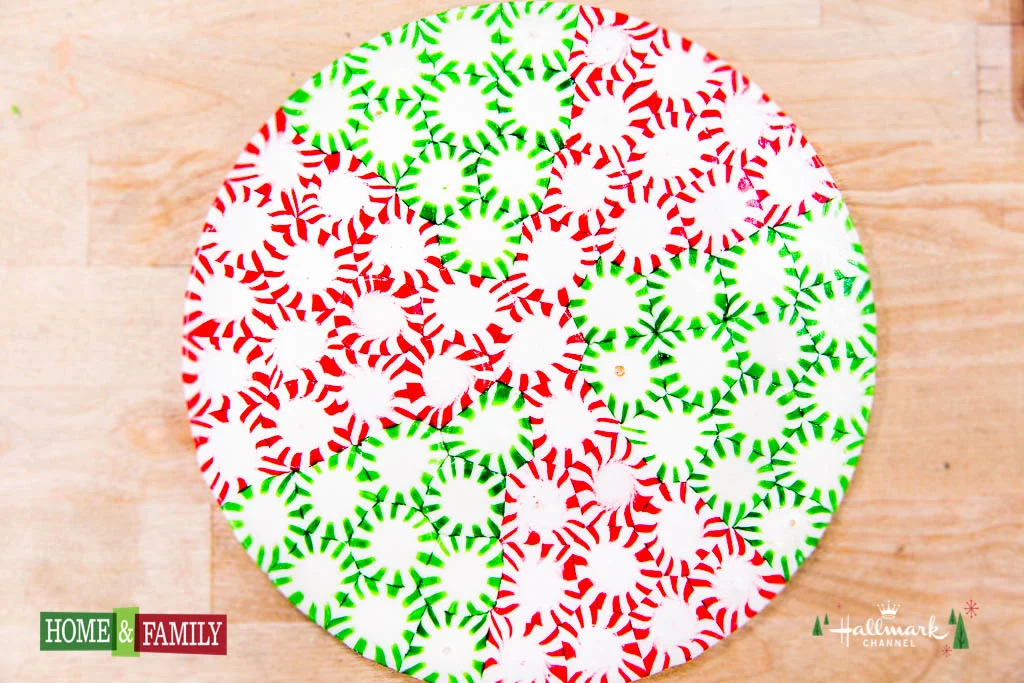
1. Preheat oven to 350 degrees and Unwrap all your mints and place them inside the silicone round. Keep them all super close together making sure to fill out the entire round. Get creative and make a design too!
2. Carefully place the silicone mold in the oven for 5-7 minutes until the mints are melted together. Be sure to watch carefully as you do not want the mints to start to bubble.
3. Remove from oven and let cool on the counter for 10 minutes before removing from the silicone mold.
4. If you wish to make your peppermint tray a cake stand you can not glue candy canes to the base. Obviously do not eat if you choose to use hot glue.
5. Use platter to hold santa's cookies or to serve holiday treats!