
DIY Paper Rosettes
Paper Rosettes are so beautiful.
They are perfect for weddings, baby showers, bridal showers, birthday parties ... heck I'd even hang them at Christmas. They look rather complicated and they are a little time-consuming, but I promise they are actually not that difficult to make. I wanted this to be a super easy tutorial for you guys so I really stepped out each step and took my sweet ass time. Which means you need to leave a comment below and say how much you love them. These gorgeous yellow and gray rosettes were used for a bridal shower I did. Hope you love them as much as I did.
What you need
Any sheet of paper, any size
Hot Glue
Hole Punch
Scissors
String
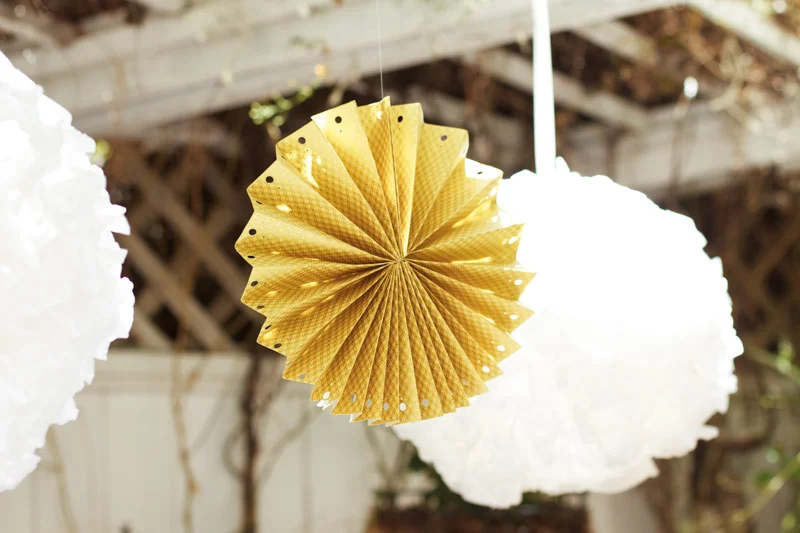
Love! I hung the rosettes with my coffee filter poms.

Father of the bride! He matches my rosettes : )
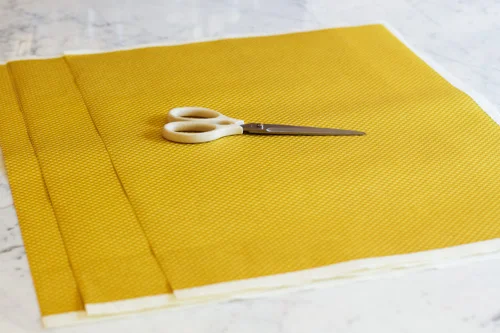
Alright, start with one sheet of paper. I get my pretty sheets of paper from Paper source.
Now fold it in half so you get a crease.
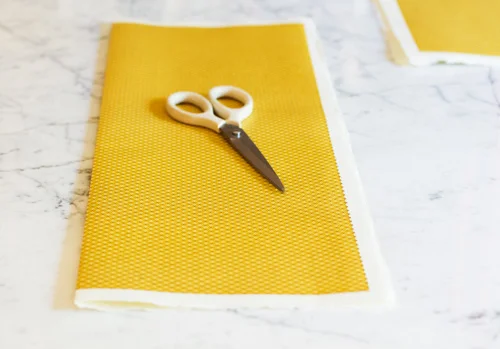
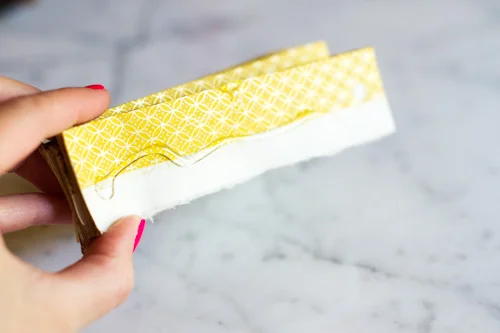
Now unfold the paper and cut the paper down the middle on the crease.
I left my white edges on because I liked the look.
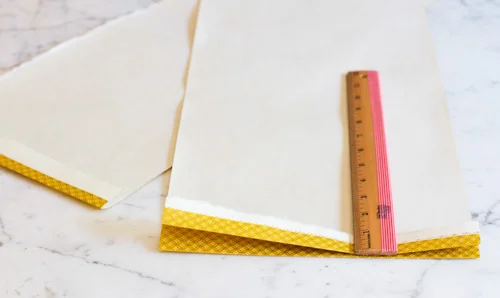
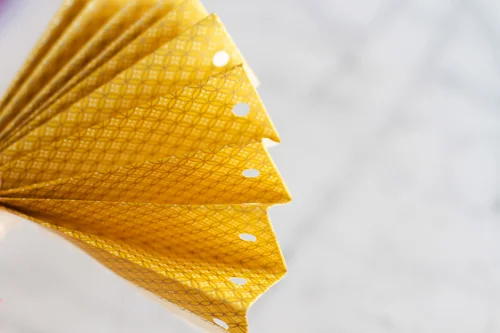
Take each half and start fanning the paper back and forth. Each fold should be 1" wide.
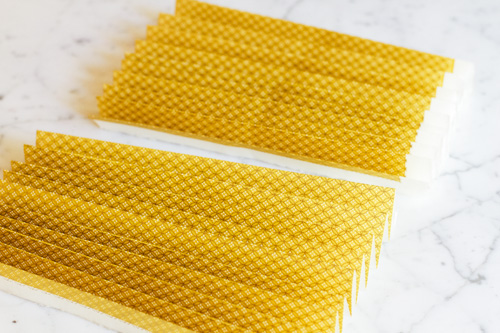
Now you should have 2 fanned out halves.
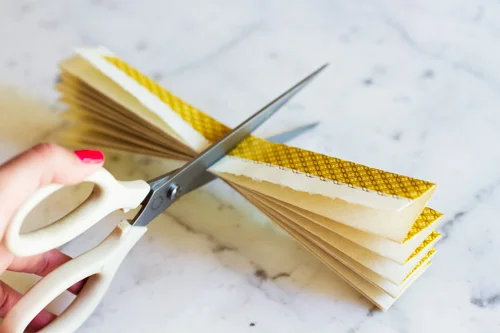
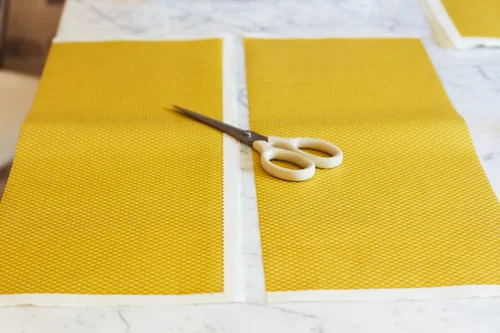
Now cut each one in half.
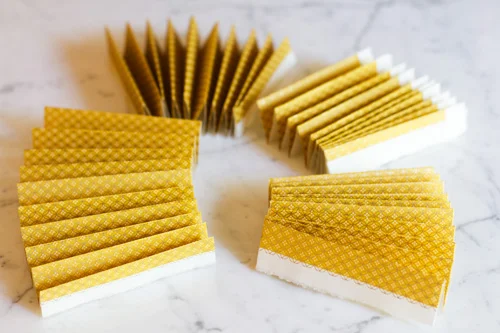
Now you should have 4 fanned out pieces. Are you with me?

Using a hole punch, punch a hole at the end of each fold. You can use a decorative punch as well. On these I also used a tiny punch so there were 2 holes in each fold.
Tired yet?
Plug in your glue gun because you're not done.
Alright place a line of hot glue down the side of one of your folded fans and stick it to another fan.
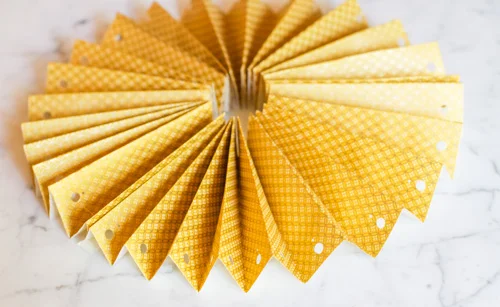
You should stick all four pieces together until you have a circle. Make sure your hole punches are on the outer circle.
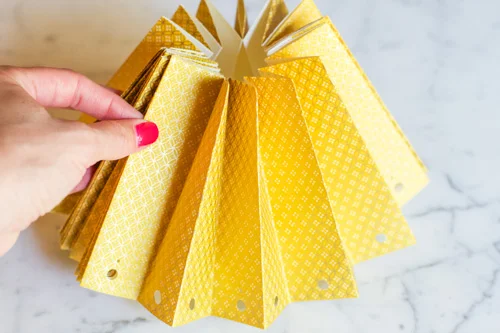
Now push your rosette towards the middle so all the pieces lift up. You are going to put a dab of glue on the center pieces.

And carefully squeeze the center together.

Then hang with clear filament string or ribbon.
LOVE!!

