
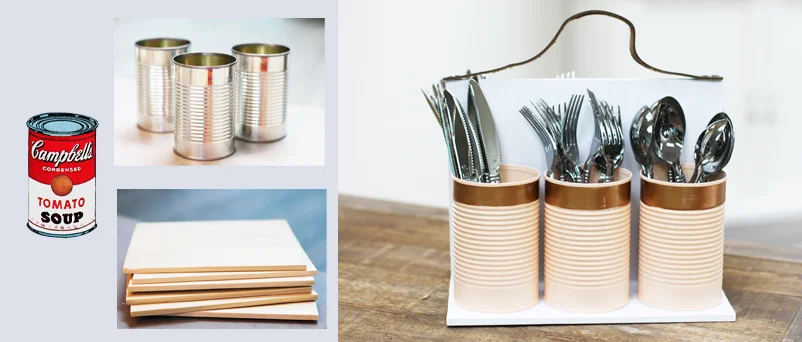
Upcycled Soup Can Kitchen Caddies
I think I have taken this whole upcycling of the soup can too far.
It's like I became obsessed.
Like I wouldn't give up until I found every possible way to make the soup can awesomely functional.
Totally not my personality to be compulsively obsessed with things.
I lie. I lie. I lie.
Give me some Adderall and a Google search and I will find out your mother's best friend's hair dresser's favorite brand of toothpaste.
What!? I don't know.
I got 10 hours of sleep last night. I am on a ROLL.
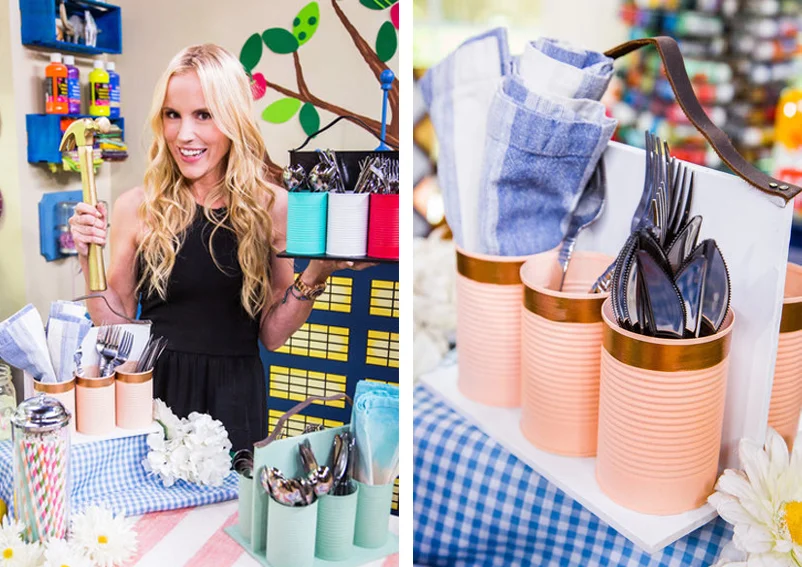
These soup can caddies will rock your world. I made them on the Hallmark Channel several weeks back and I'm just getting around to posting the actual blog because ya know ..... summer happened.
Well now it's back to work ya'll.
croll down for the tutorial or see some video action here: Soup Can DIY
What you need
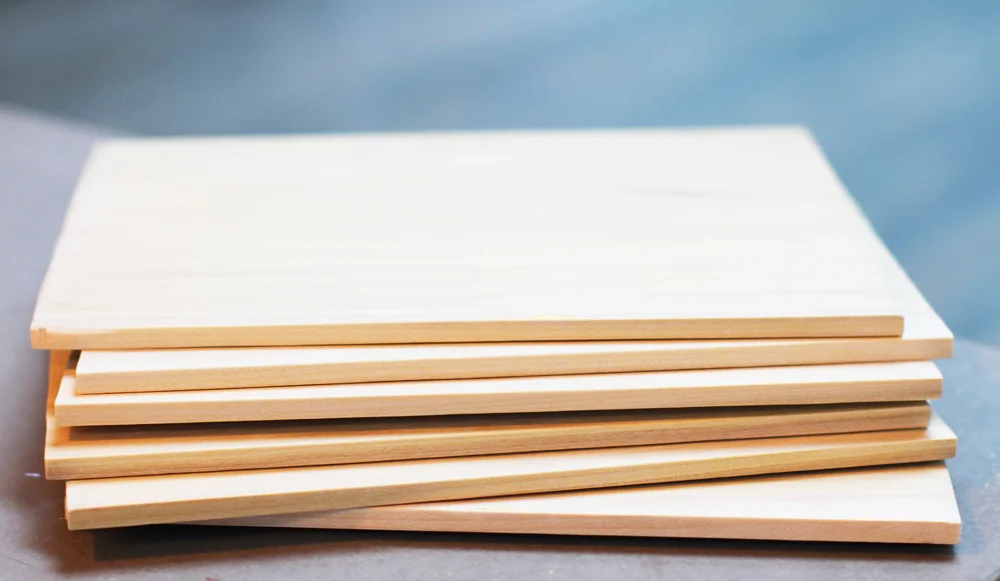
One sheet of ¼" x 7 ¼ x 4' poplar wood board
Sand paper
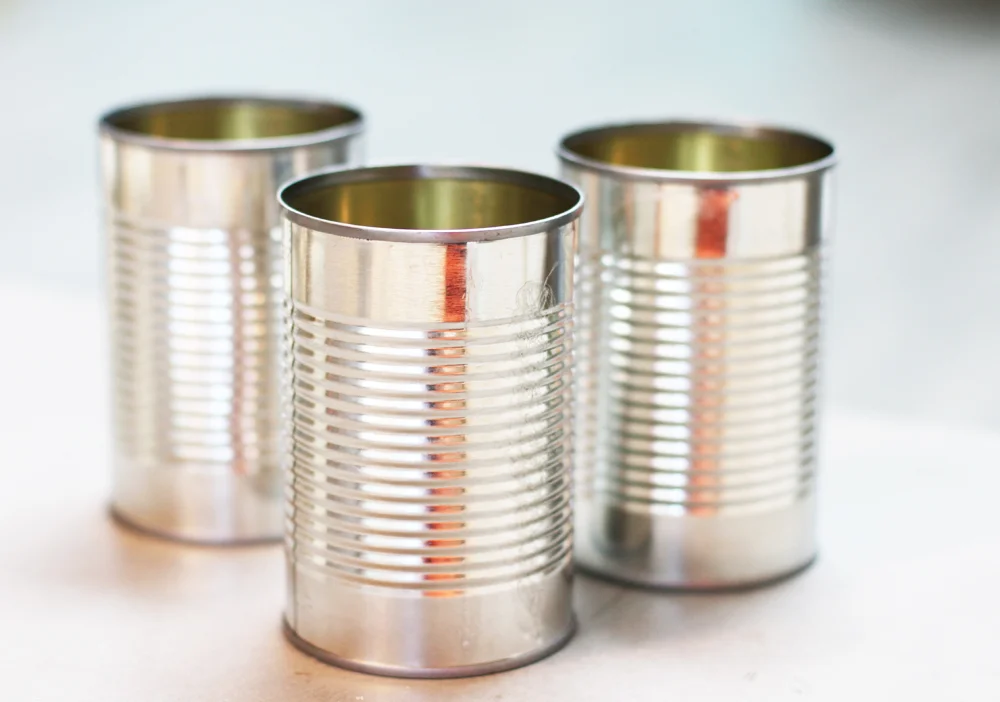
12 old soup cans (cleaned with lid removed)
Circular saw (or have hardware store cut for you)
Wood paint
Paint brushes
Ruler
Pen
6 soup cans
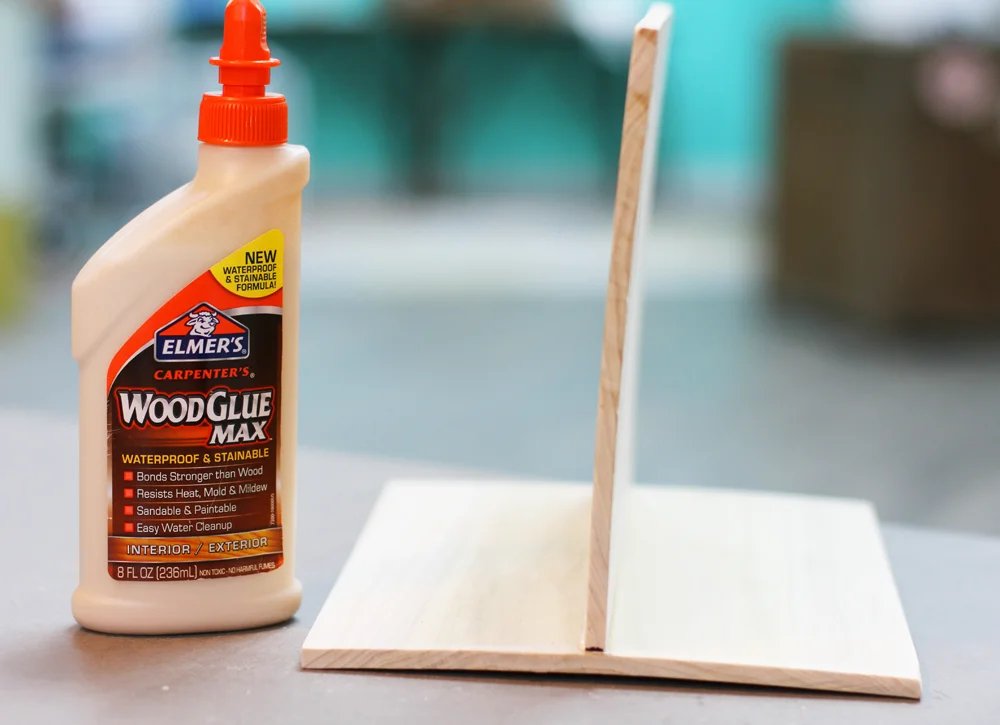
Wood glue
Nails
Scrap of leather


Upcycled Soup Can Kitchen Caddies
(Makes 2 Caddies)
What you need
One sheet of ¼" x 7 ¼ x 4' poplar wood board
Sand paper
12 old soup cans (cleaned with lid removed)
Circular saw (or have hardware store cut for you)
Wood paint
Paint brushes
Ruler
Pen
6 soup cans
Wood glue
Nails
Scrap of leather
Instructions
1. Cut your poplar board into 9 ½" x 7 ¼" pieces. you will get two caddies out of one 4' board.
2. Sand all rough edges on your board.
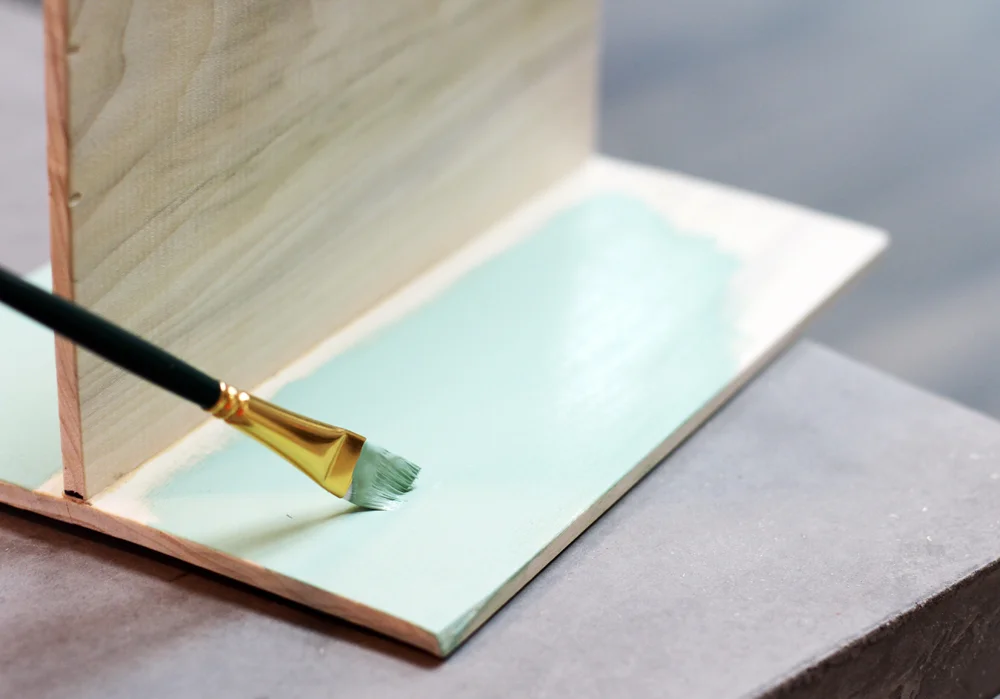
3. Paint your boards (2 pieces per caddy) and let dry.
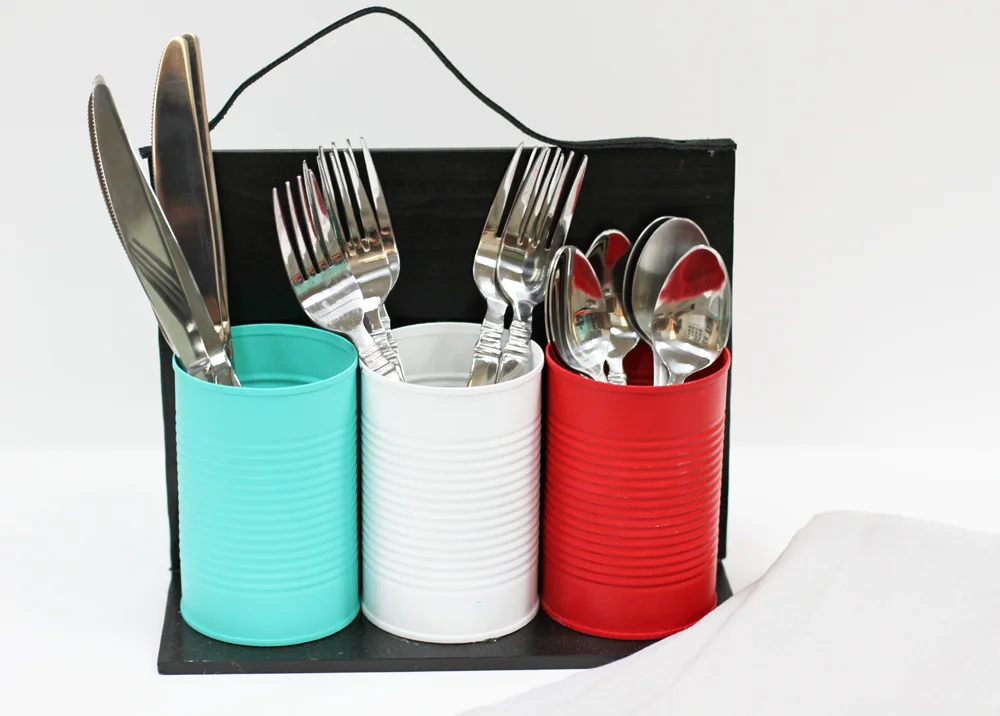
4. Remove label from old soup can and make sure the lid is completely taken off. Paint your soup cans to match your wood board. 6 per caddy.
5. Position one wood board on its side down the middle of the other board and secure with wood glue. use cans to hold in place while it dries.
6. Once dry you can hammer two nails in the bottom for extra strength.
7. Place painted cans on painted wood and secure with gorilla glue and let dry.
8. Cut a 12" piece of leather cording and nail to the top of your center piece of wood for the handle.