How to Make a Bubble Gum Tape Costume
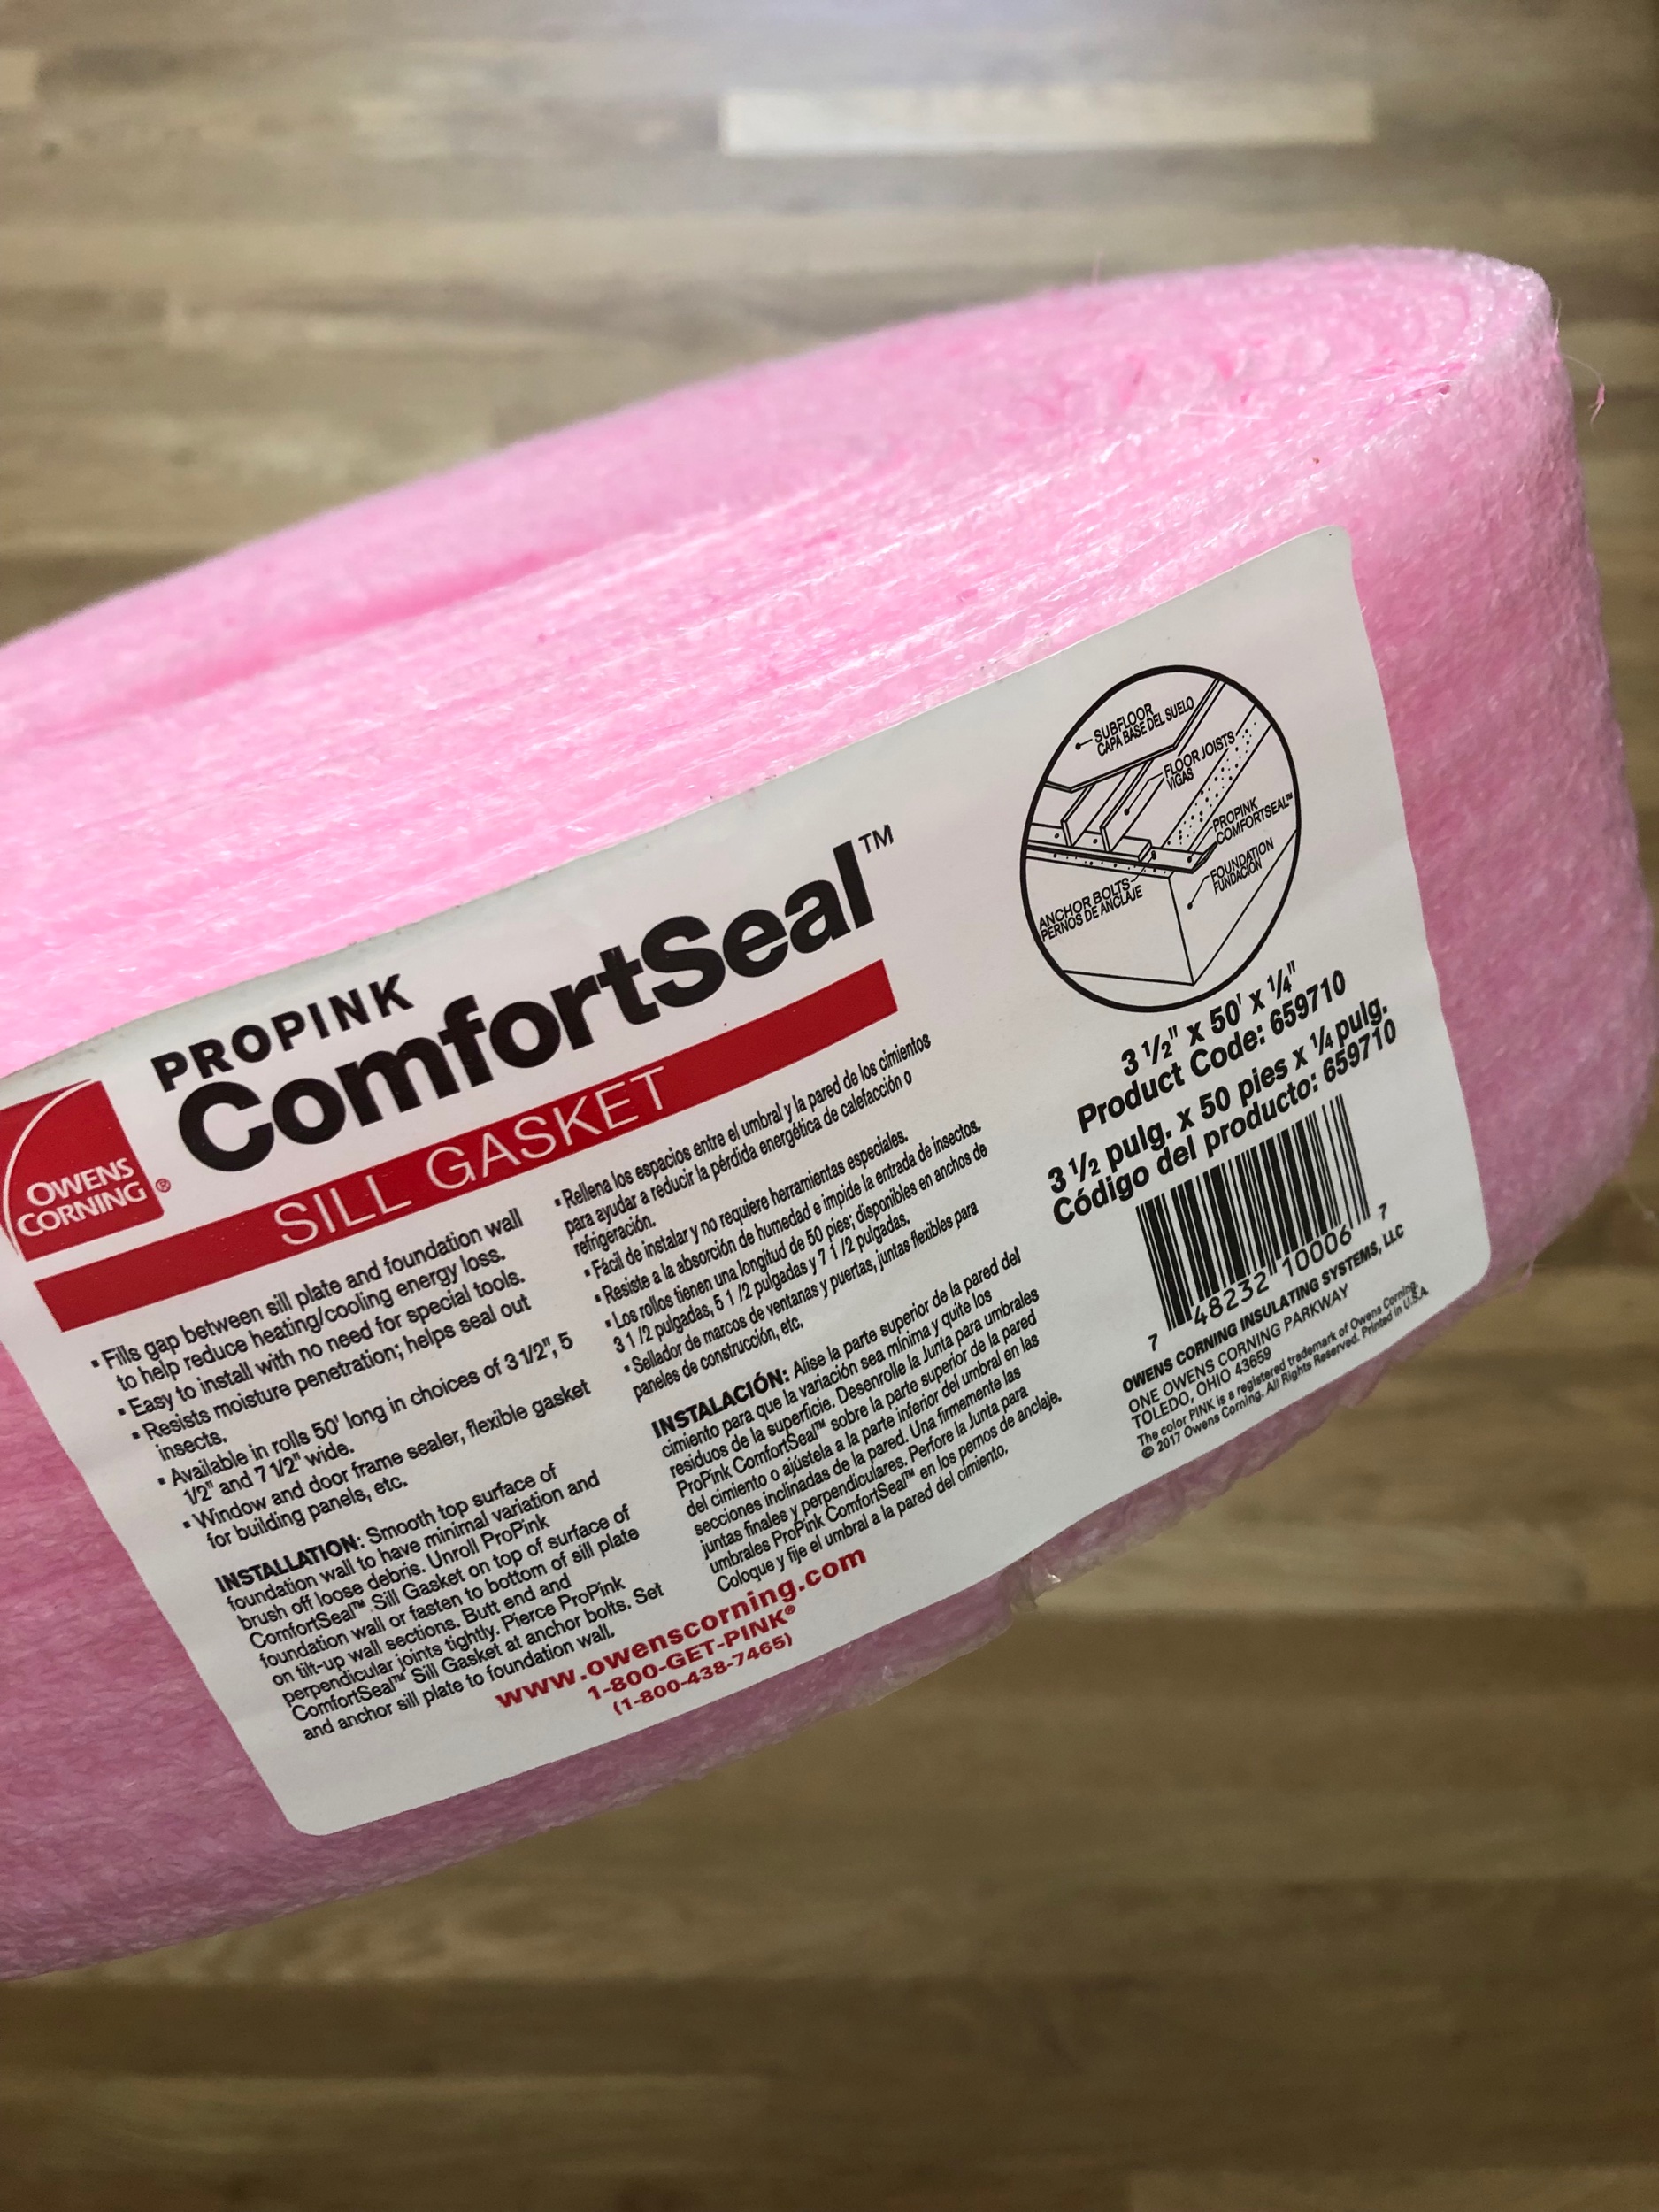
So after a long several years of personal family issues (that I don’t talk about that often on here) there was a bit of calm and I got some of my creative spark back. Last week I was walking through Home Depot and I saw some pink insulation and I decided I wanted to make a bubble gum tape costume with it. I actually got super excited about the craft and followed through and finished it and photographed it. Woooohooo look at me! For literally no other reason, but to prove to myself I could use my creative brain again :)
I think it’s pretty cool and so does Olive so scroll down for the tutorial!


Using your hand saw, cut the two flower pot saucers in half equally. It’s easiest if you use a ruler and mark a line down the center before you cut. Once you cut them in half, use your sandpaper to remove any rough edges.
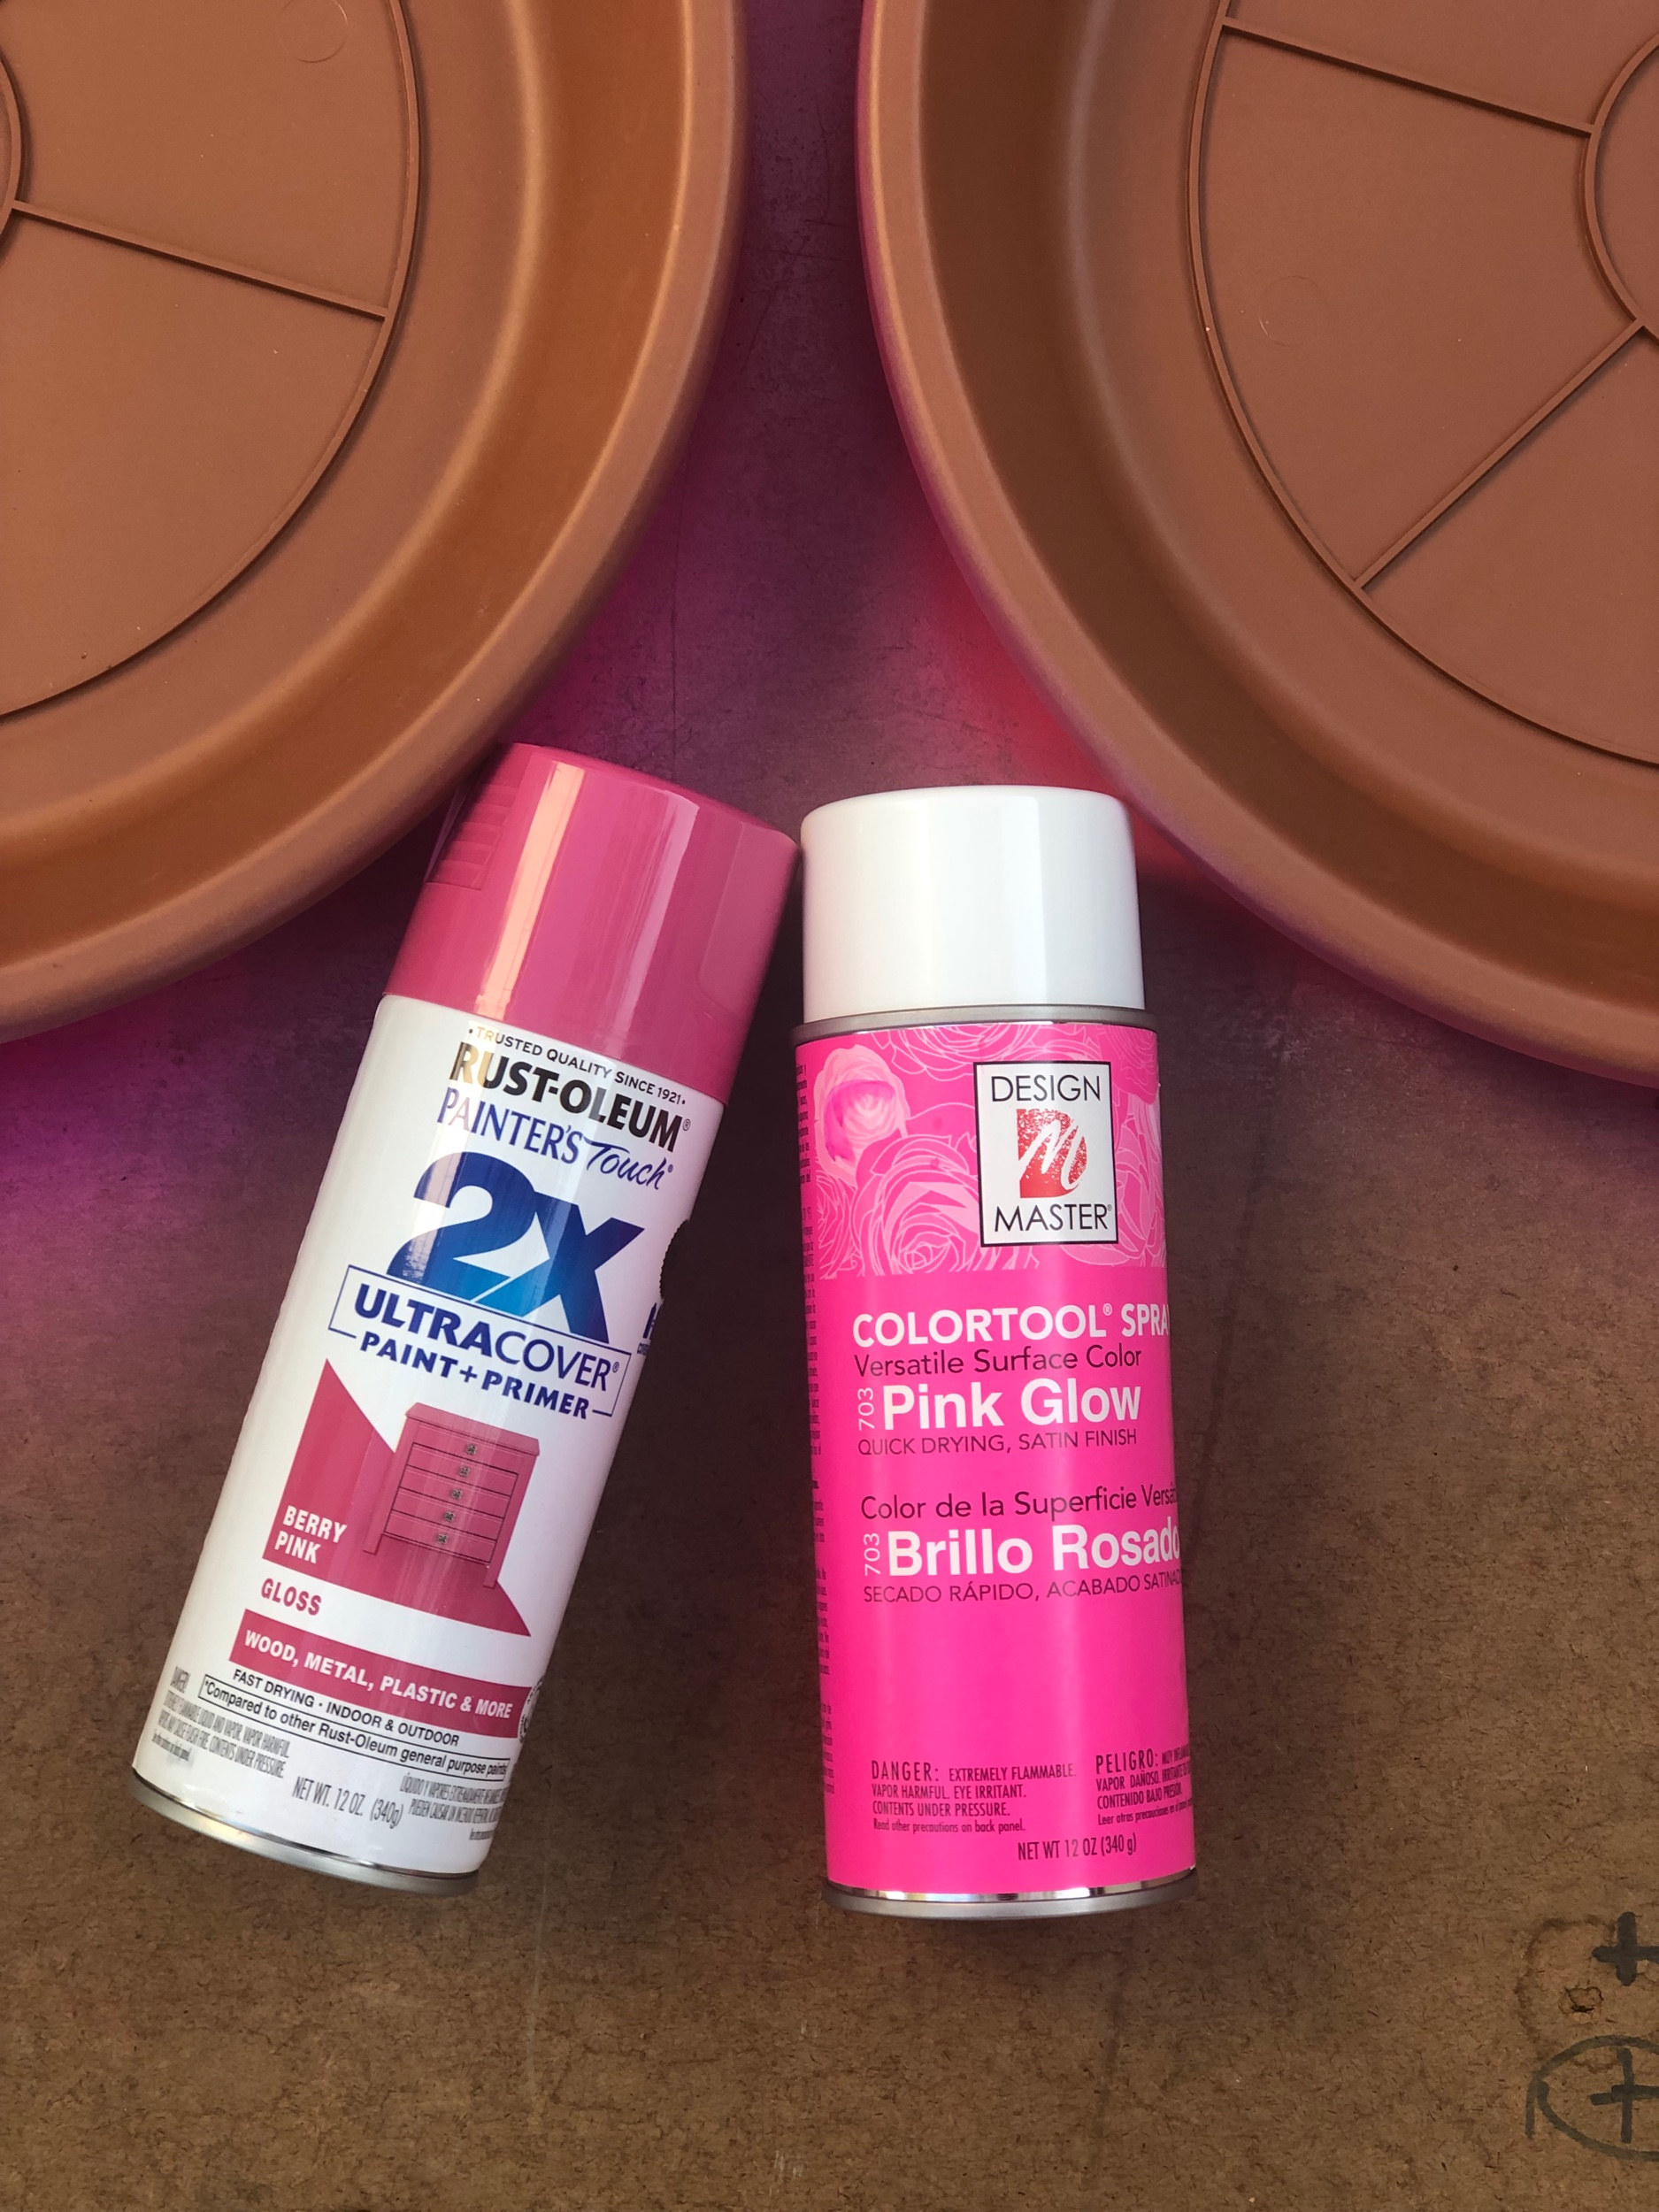
Make sure you dust your pieces and remove any stickers or plastic particles then spray both sides of the saucers with spray paint. I did a combination of the two spray paint colors shown above, but you can use a lighter pink if you wish to do so. Each side will need a couple coats so be patient and let the pieces dry in between each spray.

Don’t worry about the center being perfect, because we are going to put the logo over that so just make sure the edges are pretty and evenly pink.

Once dry, hot glue the pieces together matching them up exactly as cut so one pot base should be on top and one on bottom, but obviously they are separated. Glue along the edge of the base and sandwich them together.

Next you want to cut two circles. I used bright yellow construction paper for the 10” circle and I used white construction for the 9” circle and simply spray painted it with the exact same pink so it matched perfectly. I used a compass (you know the thing we used in 5th grade) to get a perfect circle. Then I cut the circles in half equally.
Hot Glue the edge of the yellow circle half down to your top saucer then spray glue the half of the pink circle on top of that one so the edges match up evenly at the bottom of the saucer. Do the same with the bottom saucer. See the picture if you are confused.
Next, cut out your logos and spray glue them to the saucers wherever desired. I could not find a Bubble Tape logo in yellow so I had to use yellow craft paint to fill that in myself. I also cut three little circles and also spray painted those pink and added some white paint on the edges so they looked like bubbles as that was how the original Bubble Tape looked.

Next, I drilled one hole through the top saucer and one hole through the bottom saucer.

I used gold jewelry wire to tie them together to create a “hinge” and then sprayed it pink as well… because I’m a freak and kinda OCD like that. You don’t have to tie the wire in a knot or anything. It’s strong and it will just stay in place if you loop it through about 3 times.

Lastly, drill holes ONLY through the back pieces of your saucers to insert the “straps”. DO NOT drill all the way through the front saucer too! In my picture I drilled the holes close to the edge of the saucer, but if I did this again I would do the top holes higher up so the bubble tape dispenser didn’t tilt down so much on my daughter. Live and Learn. Insert string and tie in knots to the desired length for your child.
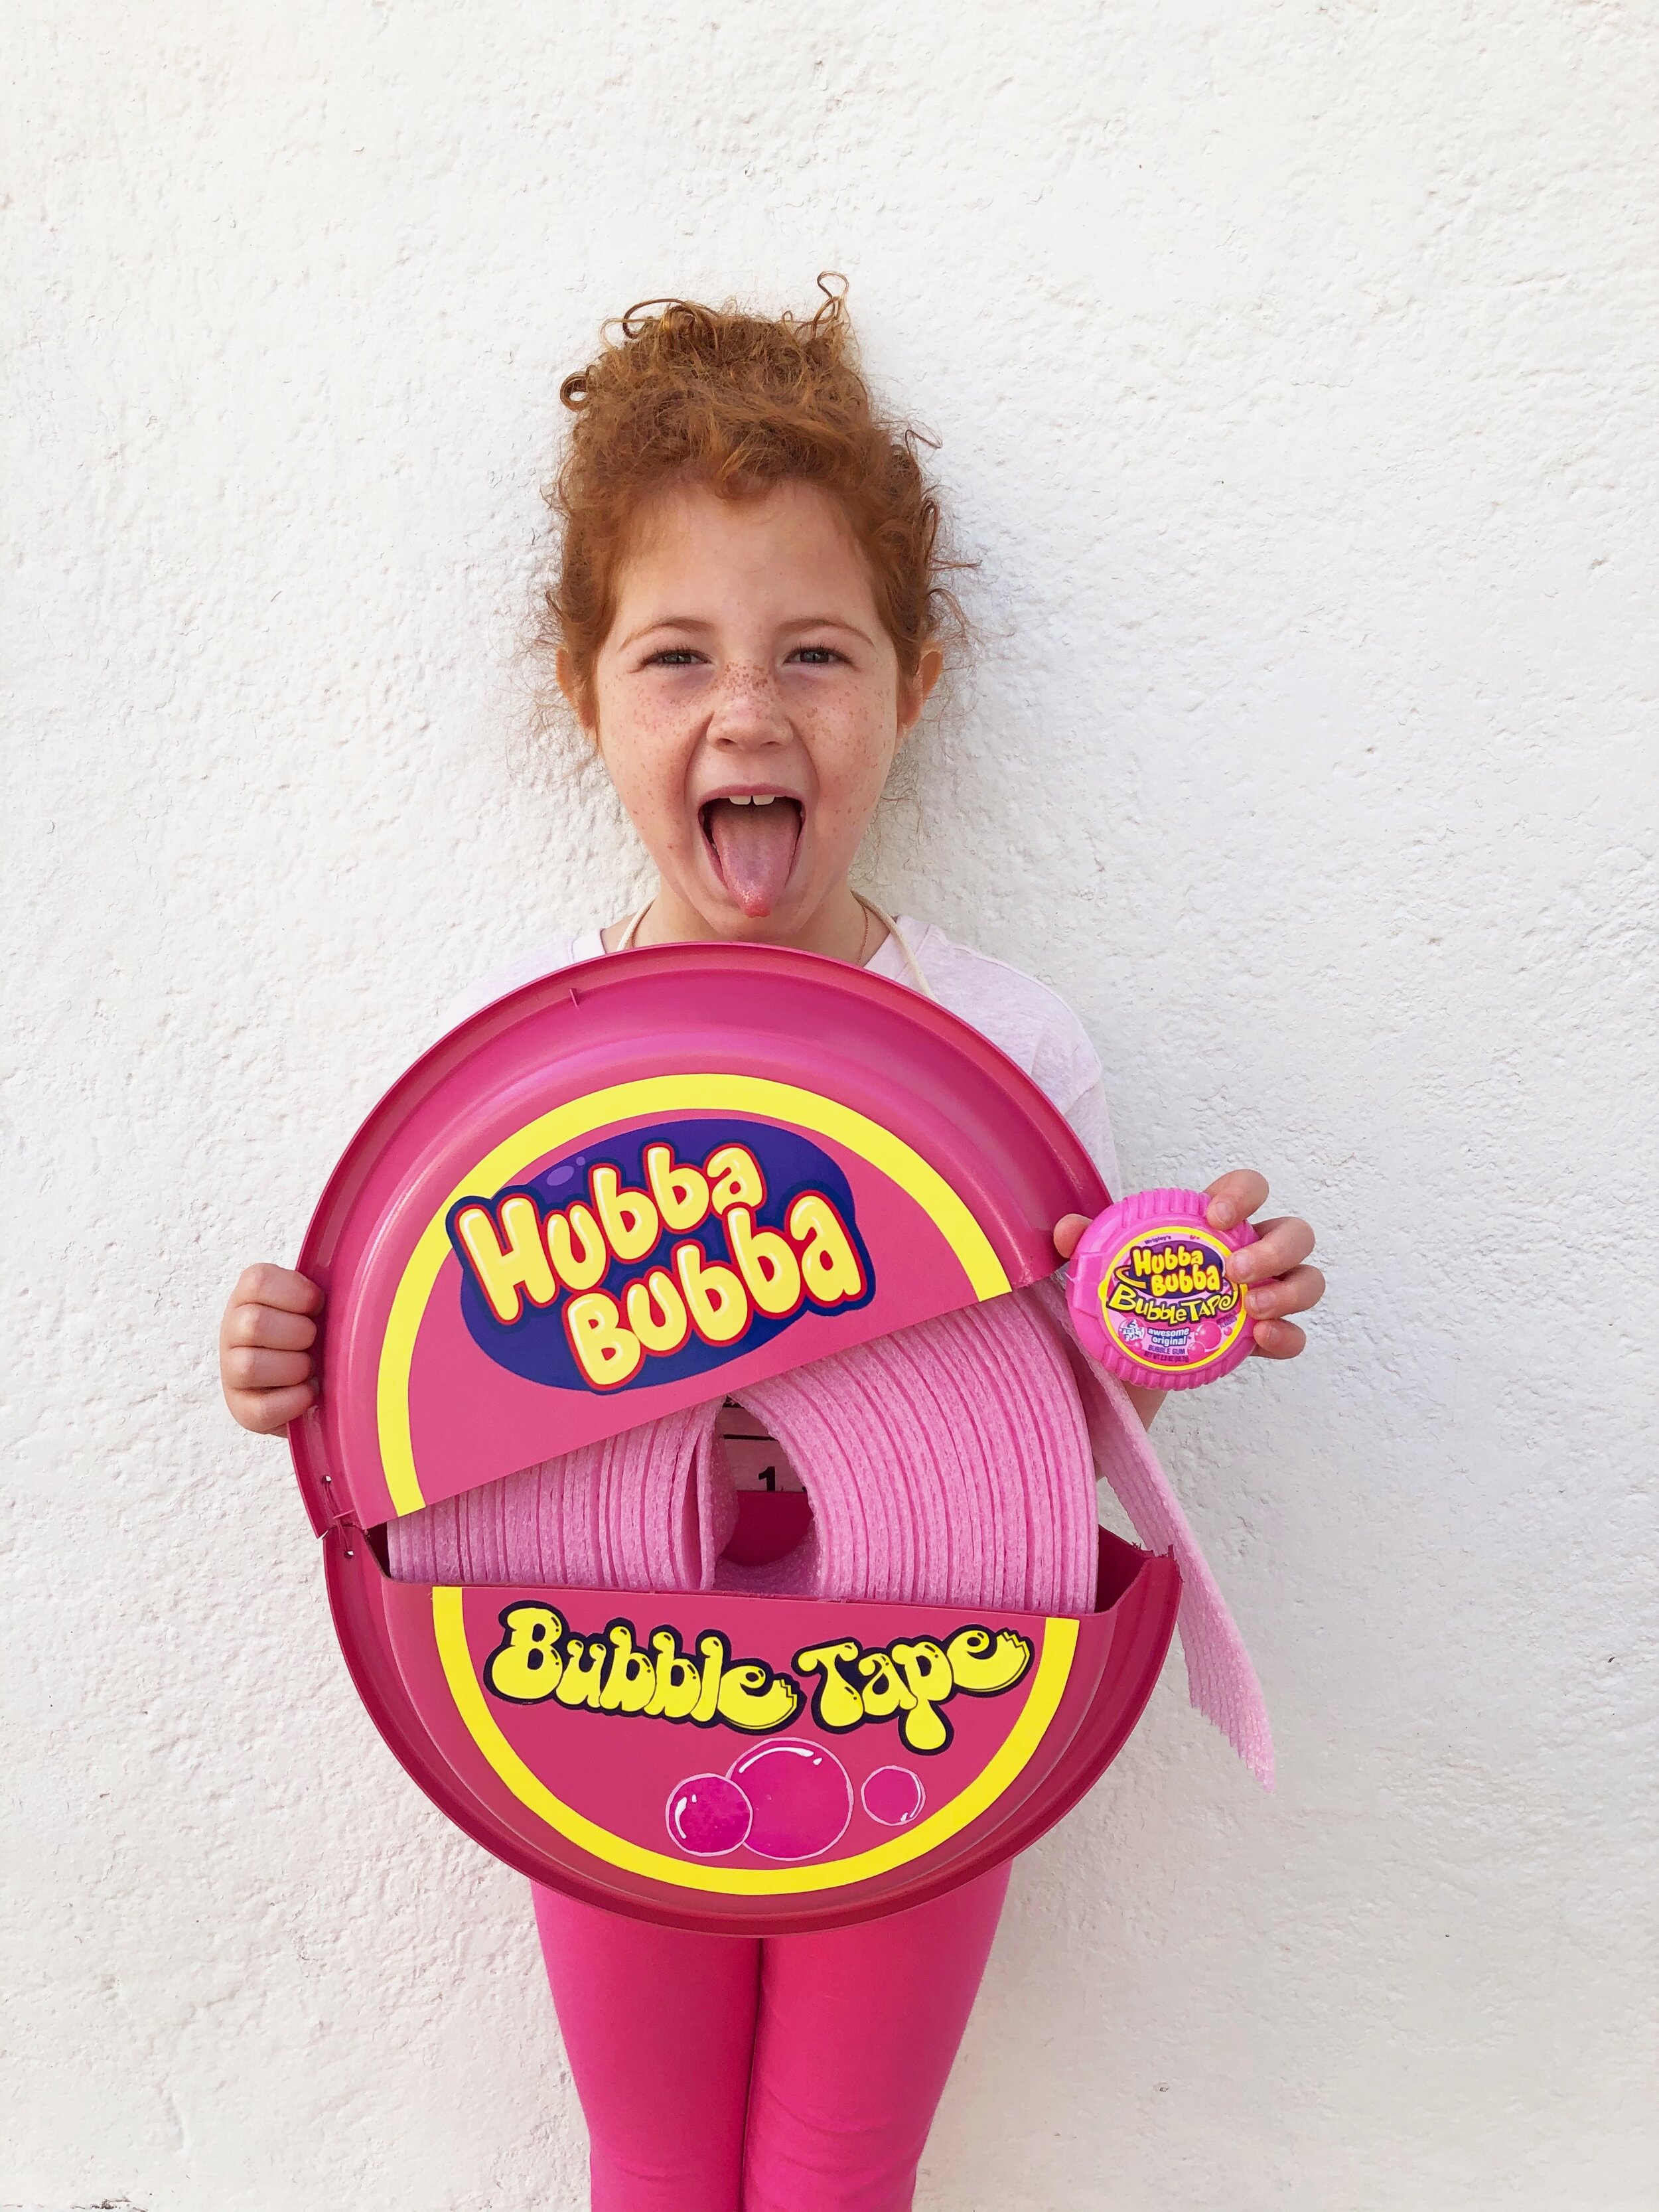
Place the insulation in the gum dispenser and do not remove any except the piece with the sticker on it. Cut that off because it’s hard to remove.


I left it full so the dispenser wouldn’t close because I wanted it visible for the costume. If you want it to completely close then obviously cut off some of the insulation tape so it closes.
Bubble Gum Tape Costume
What you need:
(2) 13”-15” Plastic Flower Pot Saucers
ComfortSeal Pink Sill Gasket from Home Depot
Hand-Saw
Drill with 1/4” Drill bit
Scissors
Pencil
Ruler
Compass
Jewelry Wire
Pink Spray Paint
Medium Grit Sandpaper
Printer & Photo Paper
3M Spray Adhesive Glue
Hot Glue Gun
Rope or Ribbon
Directions
Using your hand saw, cut the two flower pot saucers in half equally. It’s easiest if you use a ruler and mark a line down the center before you cut.
Using Medium grit sandpaper, sand the portion of the saucer that you just cut so they aren’t rough. Brush off any extra dust or plastic particles.
Spray both sides of all the pottery pieces with spray paint. I did a combination of the two spray paint colors mentioned above, but you can use a lighter pink if you wish to do so. Each side will need a couple coats so be patient and let the pieces dry in between each spray.
Once dry, hot glue the pieces together matching them up exactly as cut so one pot base should be on top and one on bottom, but obviously they are separated. Glue along the edge of the base and sandwich them together.
Next you want to cut two circles. I used bright yellow construction paper for the 10” circle and I used white construction for the 9” circle and simply spray painted it with the exact same pink so it matched perfectly. I used a compass (you know the thing we used in 5th grade) to get a perfect circle. Then I cut the circles in half equally.
Hot Glue the edge of the yellow circle half down to your top saucer then spray glue the half of the pink circle on top of that one so the edges match up evenly at the bottom of the saucer. Do the same with the bottom saucer. See the picture if you are confused.
Next, print your logos on high-gloss printer paper and cut out your logos and spray glue them to the saucer wherever desired. I could not find a Bubble Tape logo in yellow so I had to use yellow craft paint to fill that in myself. I also cut three little circles and also spray painted those pink and added some white paint on the edges so they looked like bubbles as that was how the original Bubble Tape looked.
Drill one hole through the top saucer and one hole through the bottom saucer. I used gold jewelry wire to tie them together to create a “hinge” and then sprayed it pink as well. See pictures above.
Lastly, drill holes ONLY through the back pieces of your saucers to insert the “straps”. In my picture I drilled the holes close to the edge of the saucer, but if I did this again I would do the top holes higher up so the bubble tape dispenser didn’t tilt down so much on my daughter. Live and Learn. See pictures above.
Insert string and tie in knots to the desired length for your child.
Place the insulation in the gum dispenser and do not remove any. I left it full so the dispenser wouldn’t close because I wanted it visible for the costume. If you want it to completely close then obviously cut off some of the insulation tape so it closes.