
DIY Beauty and The Beast Chip Costume
Hi guys! So I just transferred my blog today (1/21/18) to a new platform and I lost all my comments :( So hopefully I answered all your questions in my tutorial below for any new people who will be making this. And if I didn't I now get alerts for comments (yay!) so I will answer them if you ask. On to the blog ....
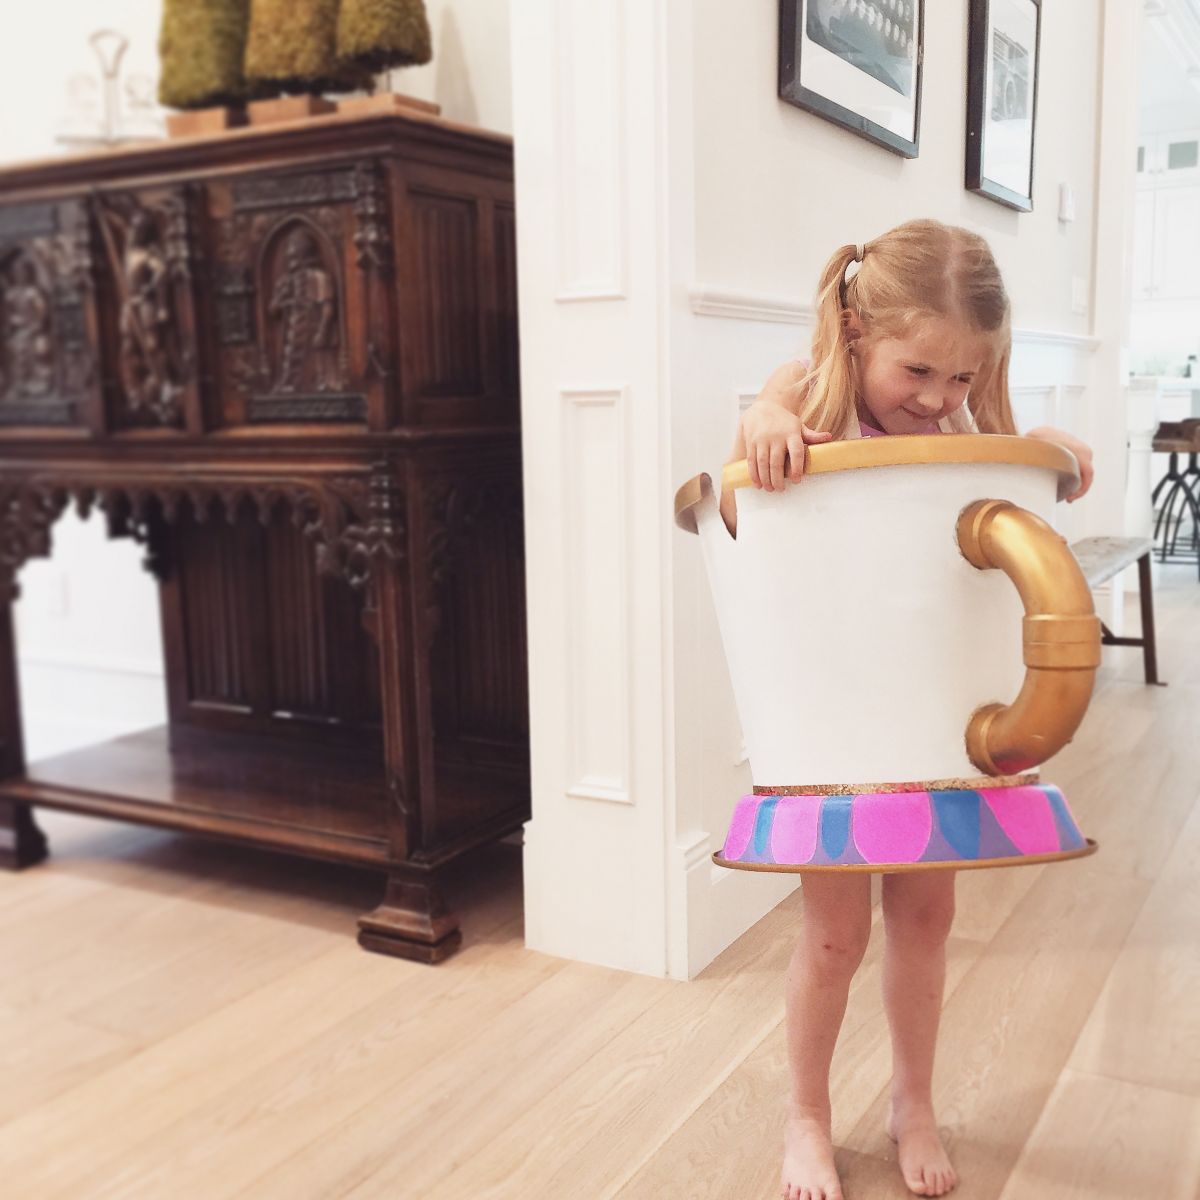
My daughter Lily was in a play and she was given the part of Chip so obviously I had to be completely obnoxious and make a Chip costume for her. Below is my journey of how I turned a plastic flower pot into a Chip costume. See below!

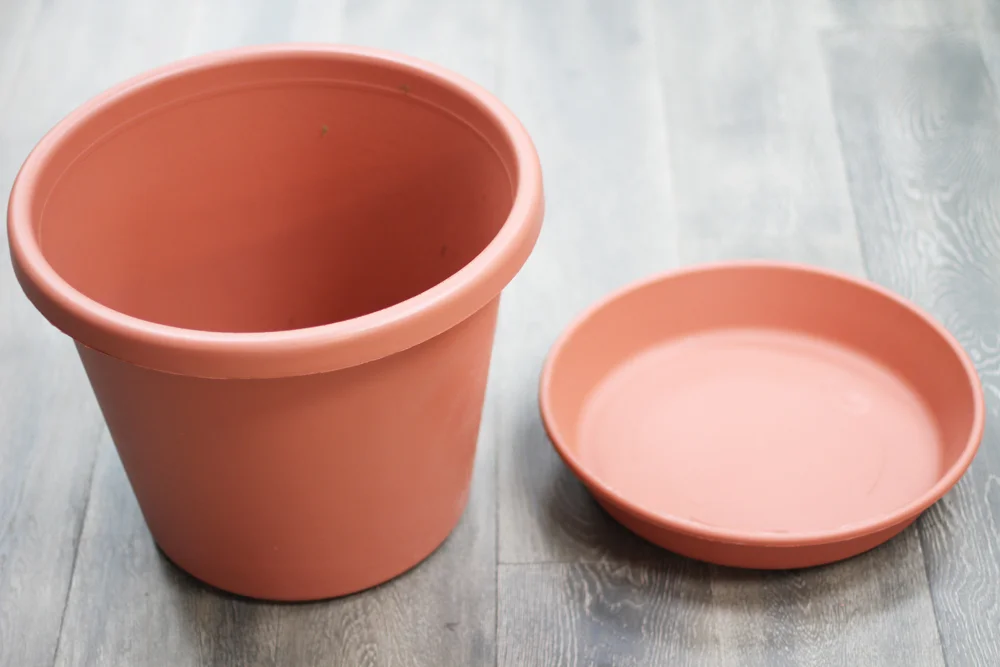
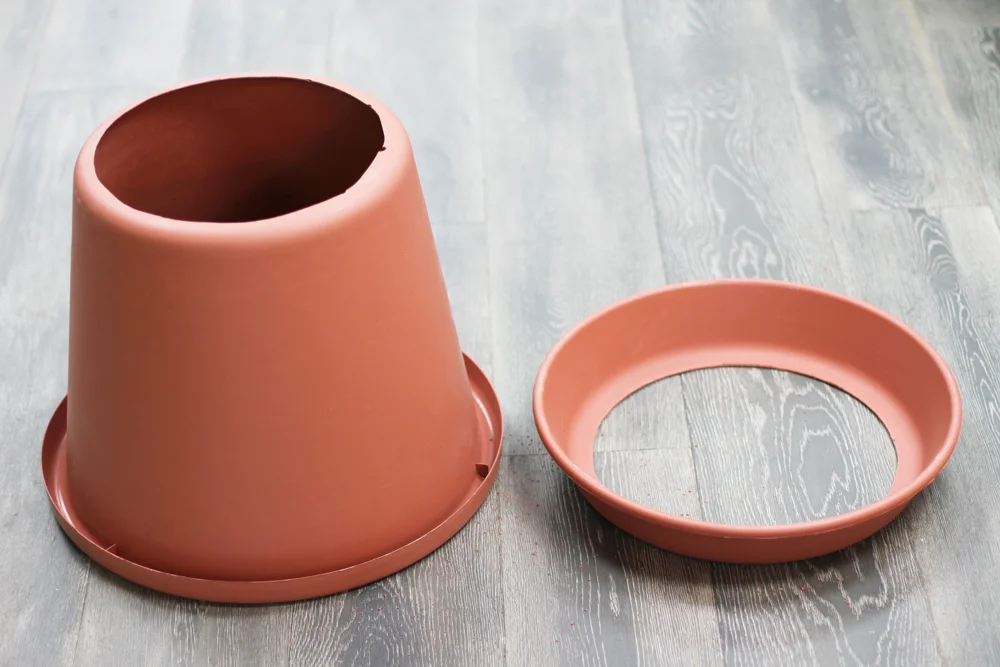
This is a 20" plastic flower pot and the matching base. You can get whatever size fits your child. It's roughly about 2 lbs so it's very light.
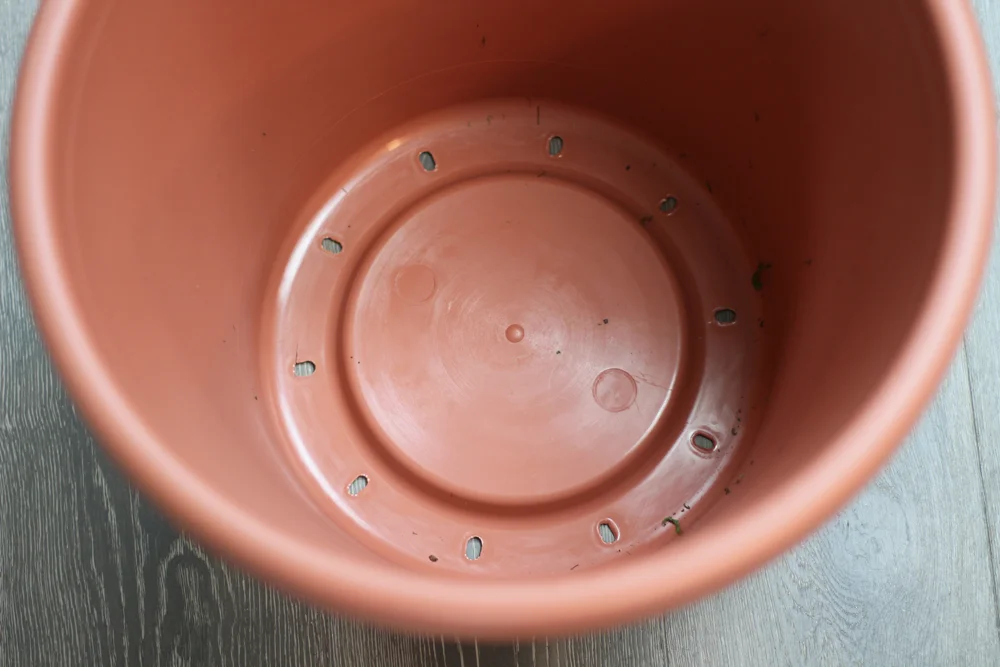
This is the bottom of the pot and we are going to cut this part out so your child's legs fit through the pot.

I used a tiny hand saw to cut this out. A dremel would work well for this too or even an X-acto knife.
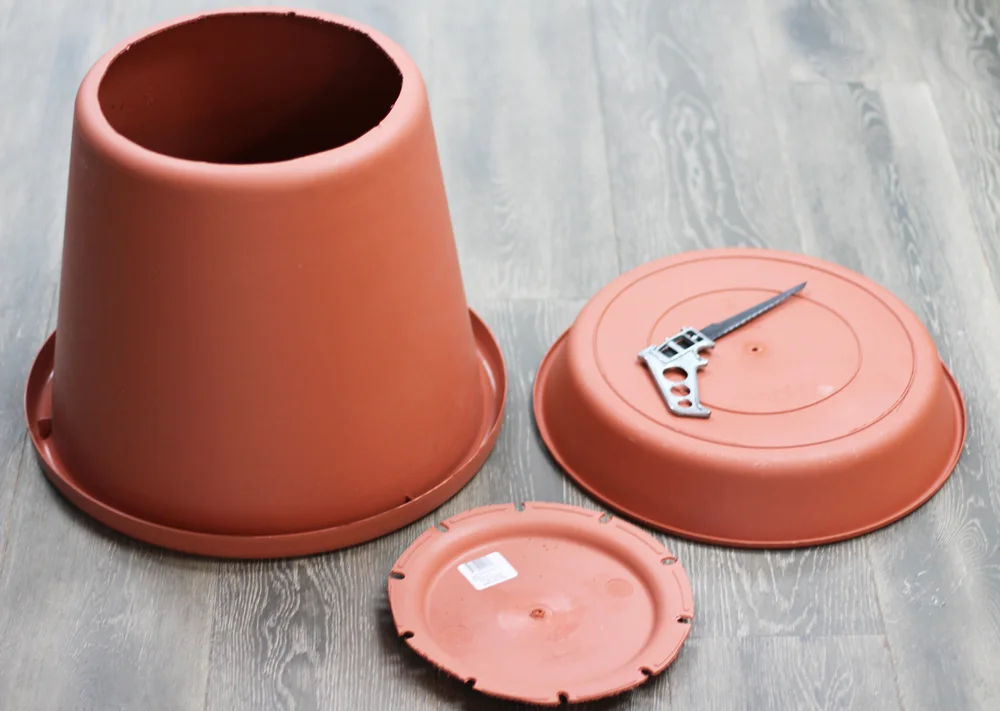
Here you go. I got the base out. Now get some extra gritty sandpaper out to smooth it down.
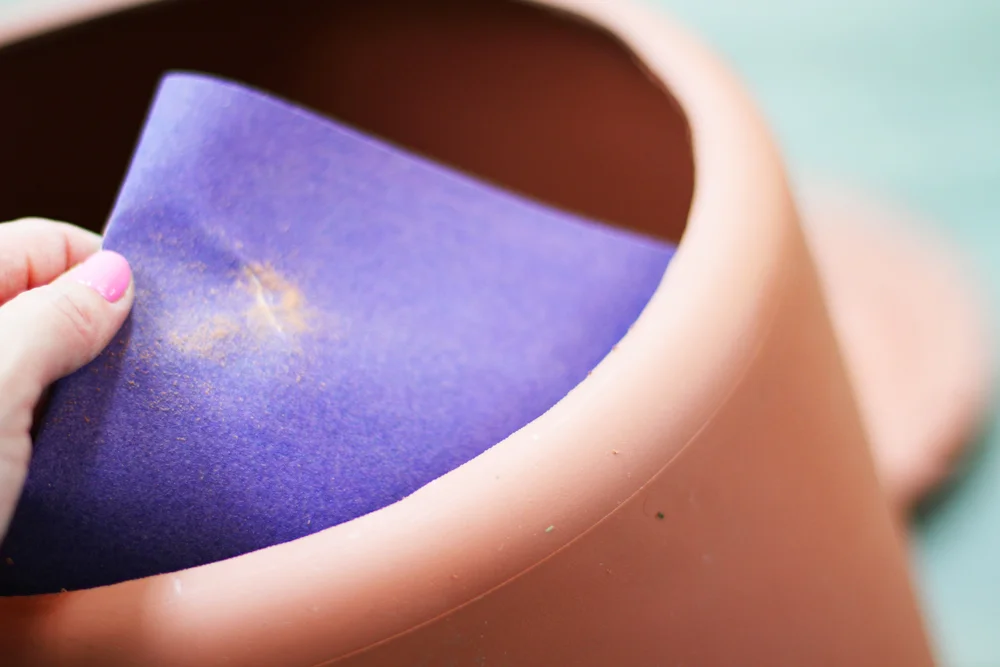
I just sanded inside the pot to make sure there were no rough plastic pieces hanging off that would scratch my daughter's legs. Make sure to get in at all angles. The pieces fall off really easily with a gritty sandpaper. It literally took me less than 5 minutes.
Now cut the center of the base out as well and use sand paper to remove all the gritty pieces as well.
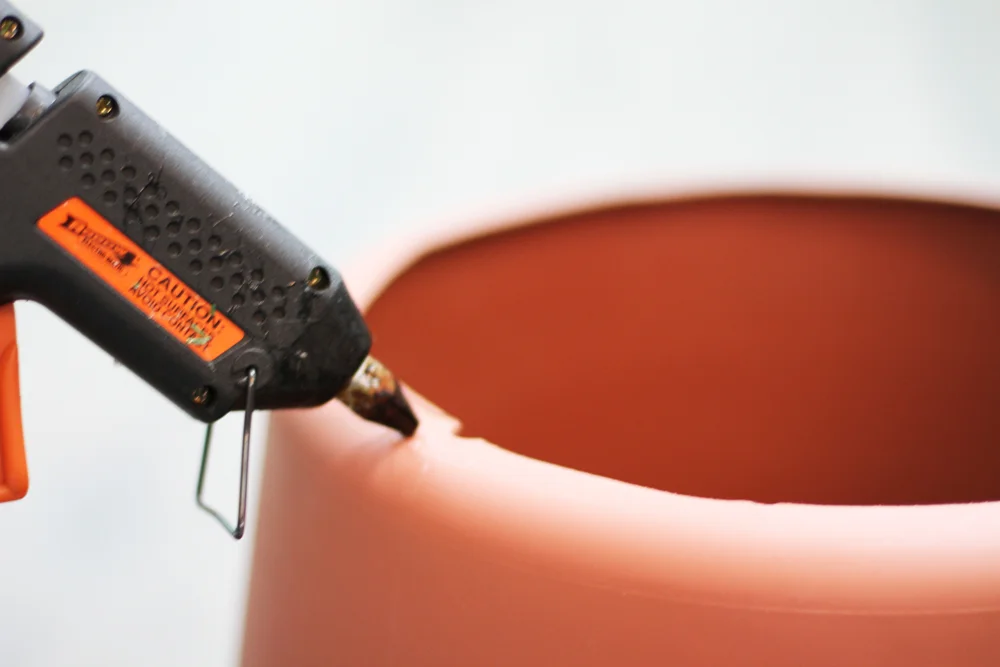
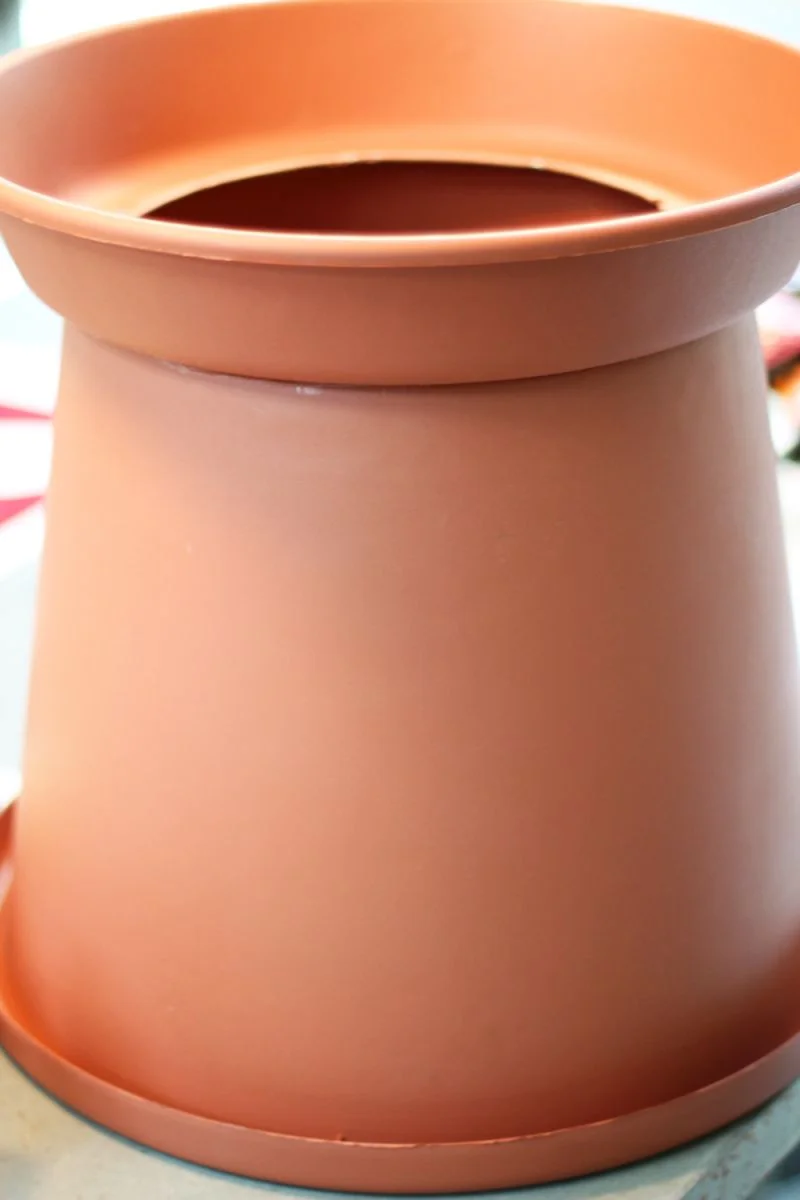
Flip your pot upside down and hot glue your base to your pot. (The base should be upside down as well) This should look like the base of a tea cup. See final picture before you glue so you see how I hot glued them.
Let the hot glue dry and using Epoxy 6000 glue the entire rim where the base of the pot and the base meet. The Epoxy is stronger than the hot glue and wont pull off later. The hot glue was simply to set everything in place.
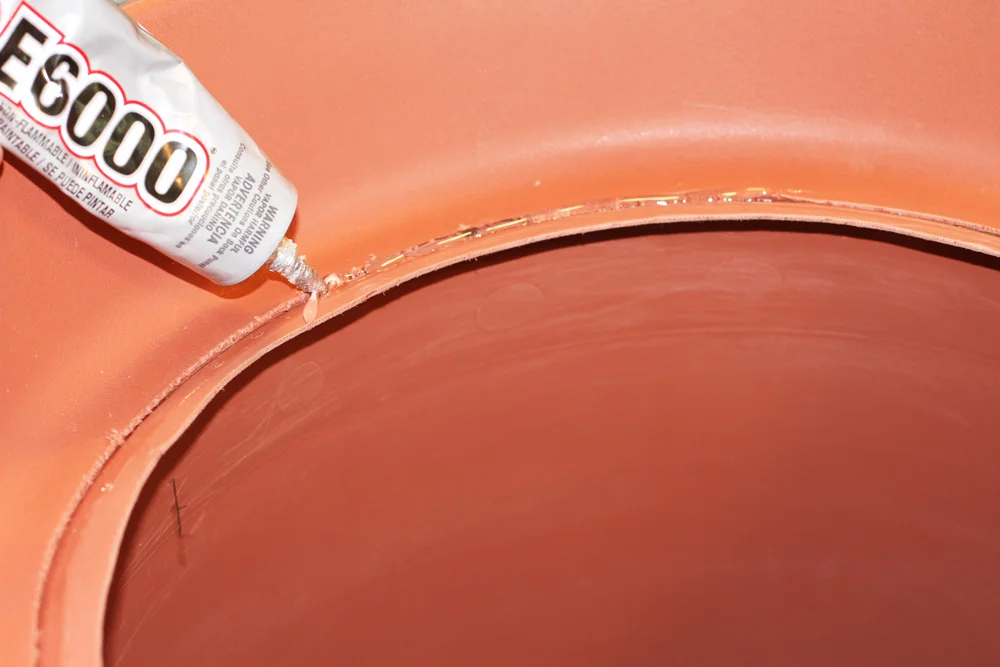
Make sure to put Epoxy 6000 on the inside of the pot, where it attaches to the base as well. This makes it extra strong.

Now take your two pipes and using super glue, attach them together and let dry. I apologize for all the different glues, but we are working with a lot of different substrates and hot glue will pull off.
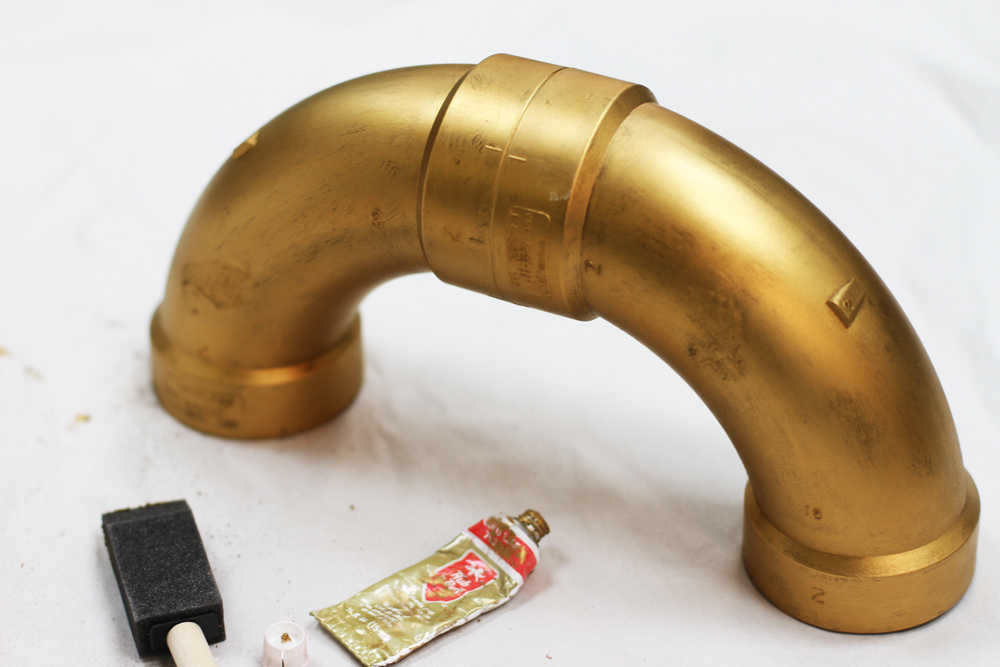
Now spray paint it gold or use the rub and buff gold. Whatever you have is fine. This Rub and buff Gold won't chip off and it's pretty cheap.
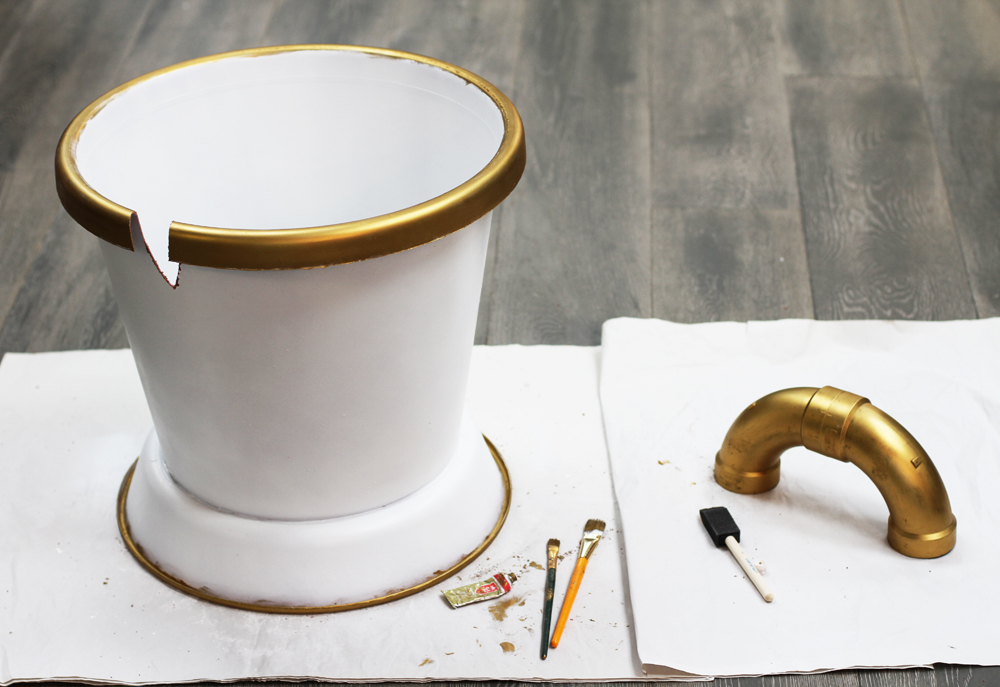
Now spray paint your flower pot white and paint the top rim and base rim gold as well just like the Chip character in Beauty and the Beast.

I used an X-acto knife to cut s giant chip out of the top of the teacup just like the character in the movie. Just be careful when cutting the top. I then used acrylic paint to paint the bsae of the teacup with pink, purple, and blue.
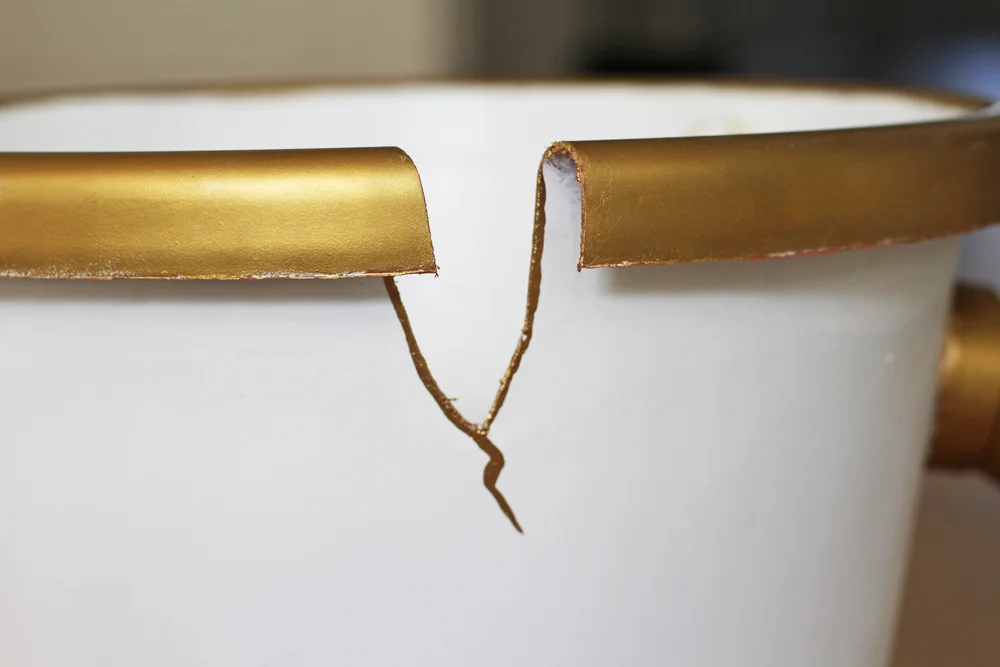
I enhanced the chip in the teacup with some gold paint and made it look a little jagged for effect.

I attached the handle of the cup with a lot of hot glue and I added a little more gold paint on the base just to make it a little more fancy.

To attach the straps I used a drill to make two holes on both corners of the back of the tea cup and two holes on both sides of the front of the tea cup. So there were 8 holes all together.
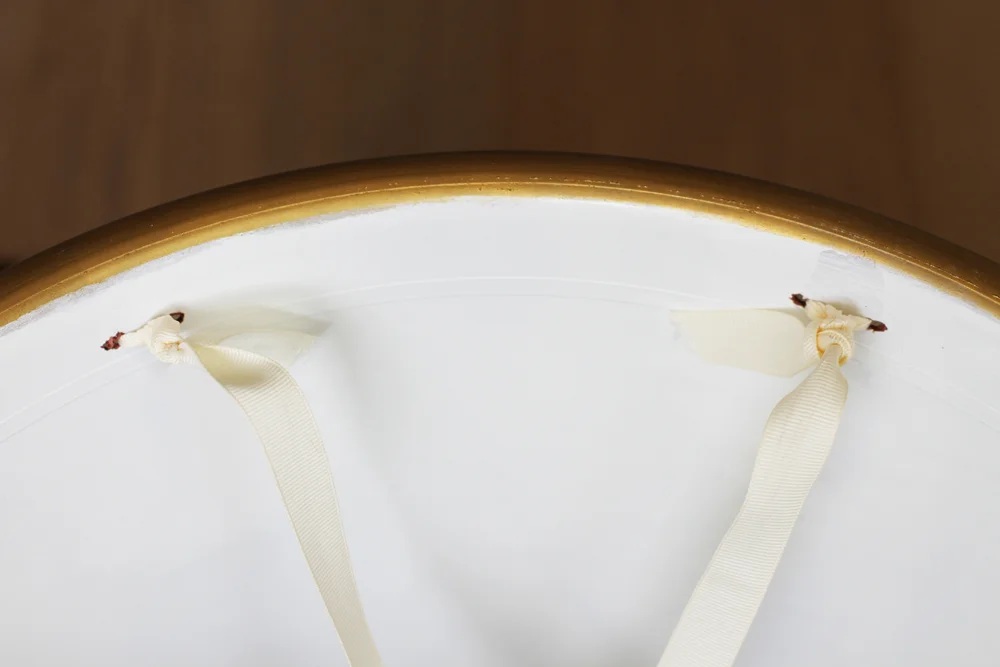
This is the back of the tea cup. You can't hot glue the straps because they will peal off (take my word on this) so you must drill holes into the teacup. I just crossed the straps and made an X on her back like how you would wear suspenders.
DIY Beauty and the Beast Chip Costume
What you need
16"-20" plastic flower pot & Base
(2) 2" 90 degree PVC pipes
Super glue
Hot glue
Acrylic paint
White spray paint
Paint brush
Sandpaper
Rub and Buff Gold Paint
Saw or X-Acto Knife
Ribbon
Drill
Directions
1. Flip your flower pot upside down and using a saw cut out the center of the pot. Make sure to also cut out the center of the base as well.
2. Sandpaper the edges of the pot and the base so there are no rough areas because this portion has to slip over your child's legs.
3. Flip the flower pot base over so it is upside down and using Epoxy 6000 attach the lid to the pot.
4. Pour Epoxy 6000 on the inside of the pot lid as well to make sure it's set and let dry.
5. Flip the costume over and spray paint it white and let dry.
6. Paint the lip of your teacup gold as well as the base rim.
7. Using super glue attach the two pipes together.
8. Paint the two pipes gold and let dry.
9. Using hot glue attach the gold teacup handle.
10. Paint the base of the teacup pink and purple and blue and let dry.
11. To attach the straps I used a drill to make two holes on both corners of the back of the tea cup and two holes on both sides of the front of the tea cup. So there were 8 holes all together. You can't hot glue the straps because they will peal off (take my word on this) so you must drill holes into the teacup. I just crossed the straps so it made an X on her back like you would wear suspenders.