DIY Halloween Tombstones
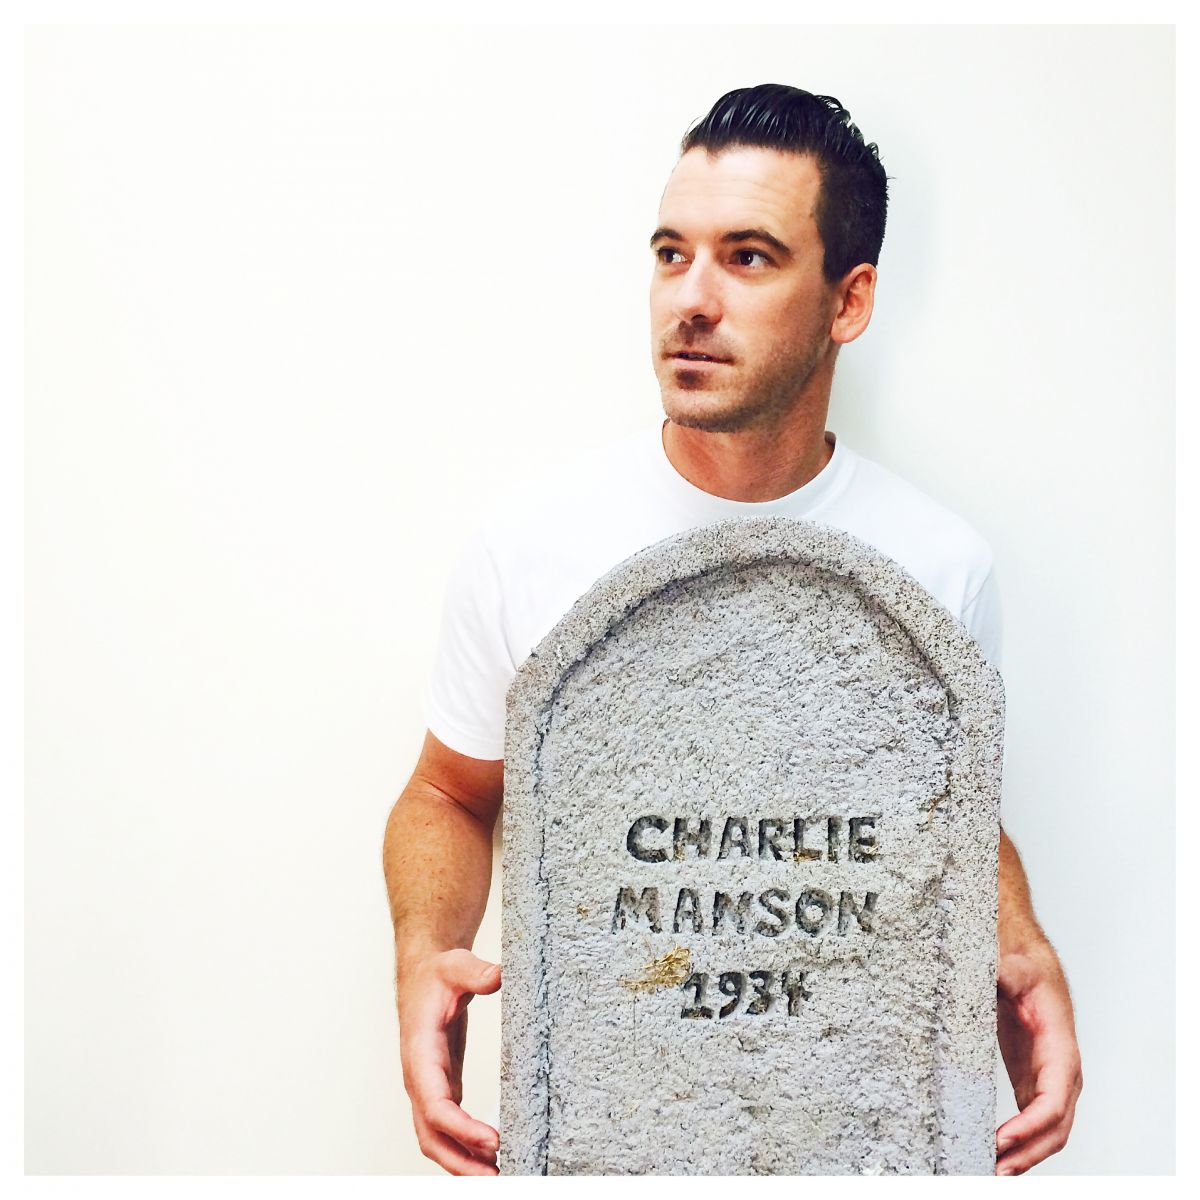
Meet my brother, Charlie.
Excellent golfer.
Class clown.
Heartbreaker.
And DIY Tombstone Maker.
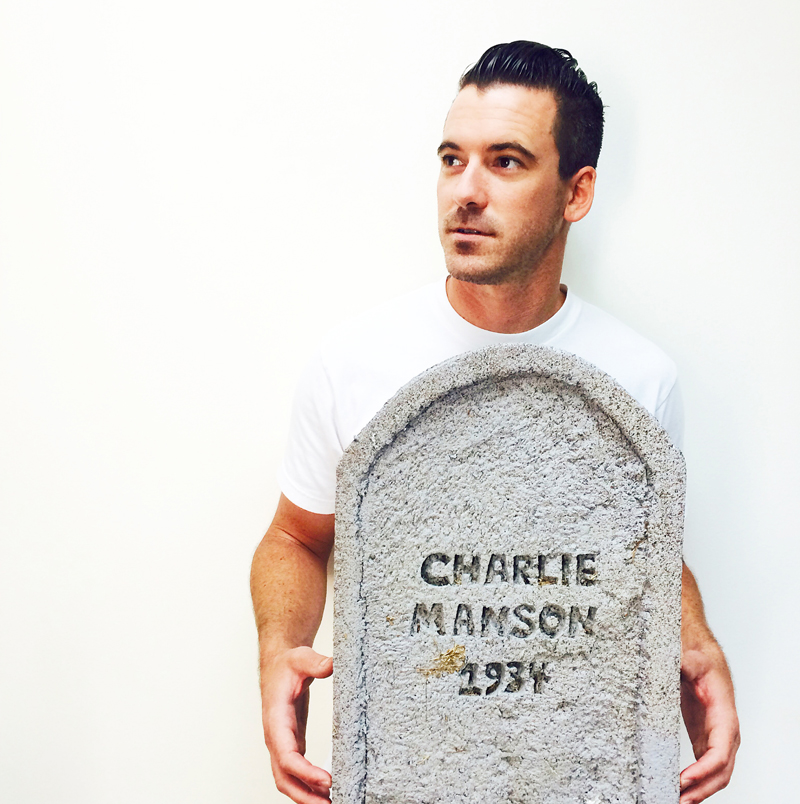
I know ladies, he's hideous. He should wear a bag over that face.
Charlie stopped by the Lilyshop studio last week to show everyone how to make these awesome tombstones. They are not only affordable, but pretty easy to make as well. I put together a massive step-by-step tutorial that only took me 142 hours to photograph, photoshop, edit, and post so everyone will not only read this, but they will also comment below and share on FB and Pinterest ..... because if you don't ..... I will #$@#&#&#*&$% ! That's right. I am not asking. I am telling. A lot of work goes into these freaking posts. Sheesh.
What you will need
(1) sheet of 2" Insulfoam $6 (Makes 3 Tombstones)
Utility Knife
Primer & Black Paint (or gray paint)
Paint Brush
Pencil
Tape Measurer
Hand saw (optional)
Rock Spray paint (optional) or Dirt

Ok, so you want to start with Insulfoam. This stuff is super cheap. A piece of styrofoam can cost you upwards of $50 - this entire 4ft sheet is only about $6 and you get (3) tombstones out of this! Whatttttt! I know, mind blowing. You can thank Charlie for this one. My ass would have been driving to Michaels for some ridiculously expensive styrofoam.

Ok, so there is some foil backing on these foam sheets. You just need to peel this off and toss it.
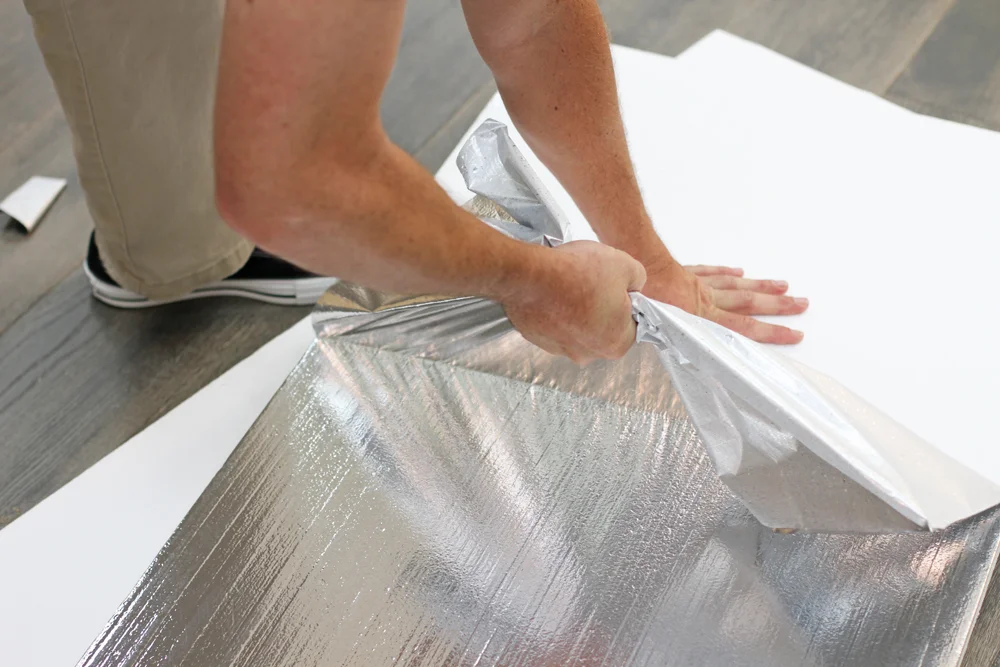
Keep peeling. Both sides people.
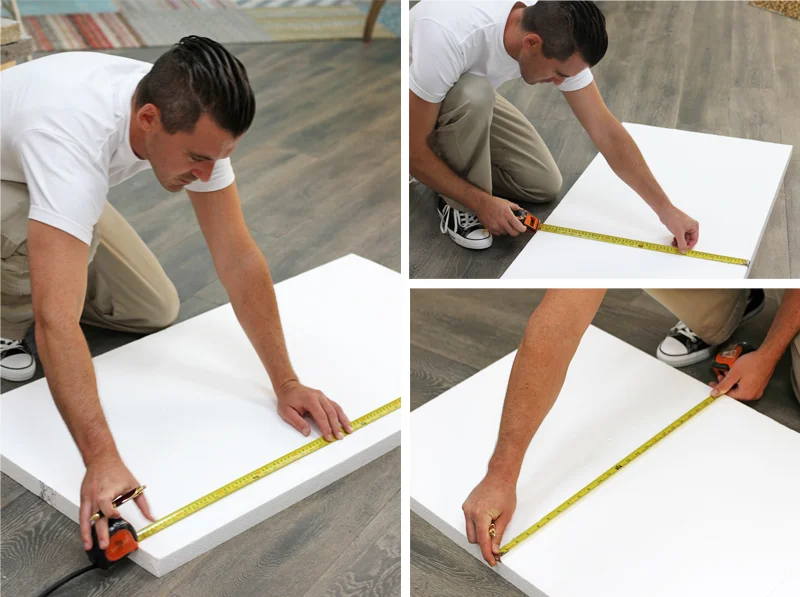
Now measure your board. You will get (3) 2' tombstones out of this .... or make (2) big tombstones and (2) more little guys. You can really do whatever you want. For the sake of this post, we are making (3) tombstones.

Now use your utility knife and cut straight down the middle of the sheet. You will need to cut on both sides, because this is a bit thick.

Once you make it through the sheet, just break it in half and you should have 3 clean rectangles.
Do you like my fish bone utility knife? I got it when my brother and I use to work for my Dad. He had a sign company that we grew up working in and it came as a free gift with some of our boxes we ordered. I was so excited about the "free" knife until my dad (the voice of reason) said "JESSIE IT ISN'T FREE! WE PAID FOR ALL THESE DAMN BOXES!" ..... My Dad has since passed, and now every time I take out the knife, I always say to Charlie "Use the free knife!" .... It's the little things that make you smile. : )
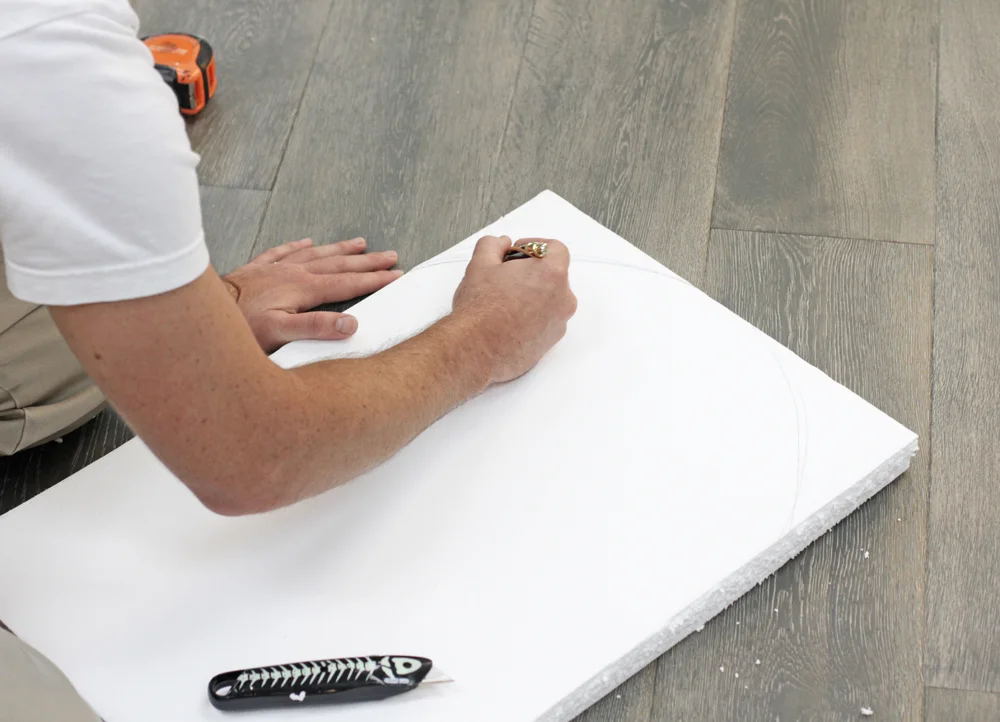
Now start drawing your tombstone. Just round the top edges. Easy peasy.

Now write RIP in block letters or a year or date or name or whatever it is you want on your tombstone. Just keep everything in thick block letters so you can carve out the middle. You will see what I mean in a minute.

Now scrape out the middle of your letters with an X-acto knife or your utility knife. It's messy. You will have to vaccuum.


Now you can either use a serrated knife and just round the edges or if you have a saw you can use that as well. It goes much faster with the saw, but we aren't particular here and I don't want you to run out and buy a new saw if you don't have to. The serrated knife works just as well. Charlie is just showing off.

Now use the back of your pen, or a screwdriver or whatever you have to make cracks in the tombstone. Just make them all over the place. The more messed up the tombstone, the cooler it looks so you really can't screw up here.
Cool, right!? Now we shall paint.

Charlie bought some white primer and literally added one drop of black to the paint can. This can will cover 100 signs so you don't need this much. When you add the black, the paint will literally still look white, but it will turn gray once it's painted on the foam. What's cool about the primer is that is also eats away at the foam, making little holes everywhere. Makes it look even creepier.

Paint both sides.

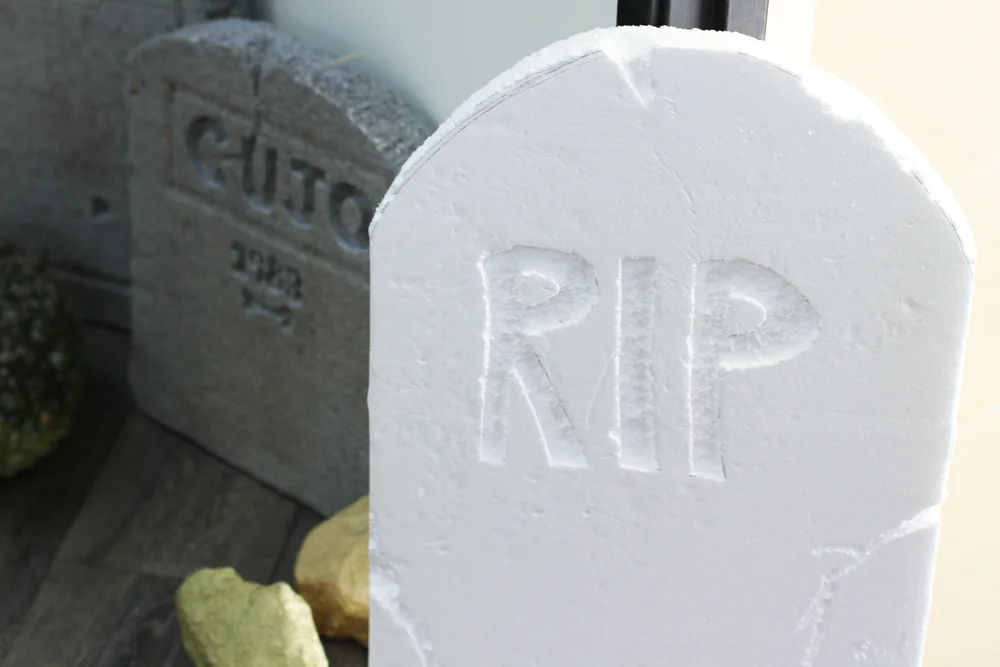
And let dry. Now here is the optional part. You want to make the tombstone look even creepier. So you can hit it with some darker stain inside the lettering or you can add these cool rock spray paints (which is literally dirt, mixed with spray paint) or you can paint some darker brown paint inside the lettering and then put some actual dirt on it while it's wet.

You just want it to look dirty and creepy. Mission accomplished.

Holy Halloween Hell. That blog post took literally forever to upload. I hope you are all very appreciative!
Thank you Charlie!